Info
If you want to know how to install the smart sensor into your home, skip ahead to Installing the sensor onto the smart electrical box
Intro
As written in Smart sensor, we’re going to make our own smart meter and put it in my house’s electrical box so it can measure our energy usage. The data will be sent to school who shares it on their website. To see my sensor data i have to log in with the unique code that corresponds with my meter.
Soldering the sensor
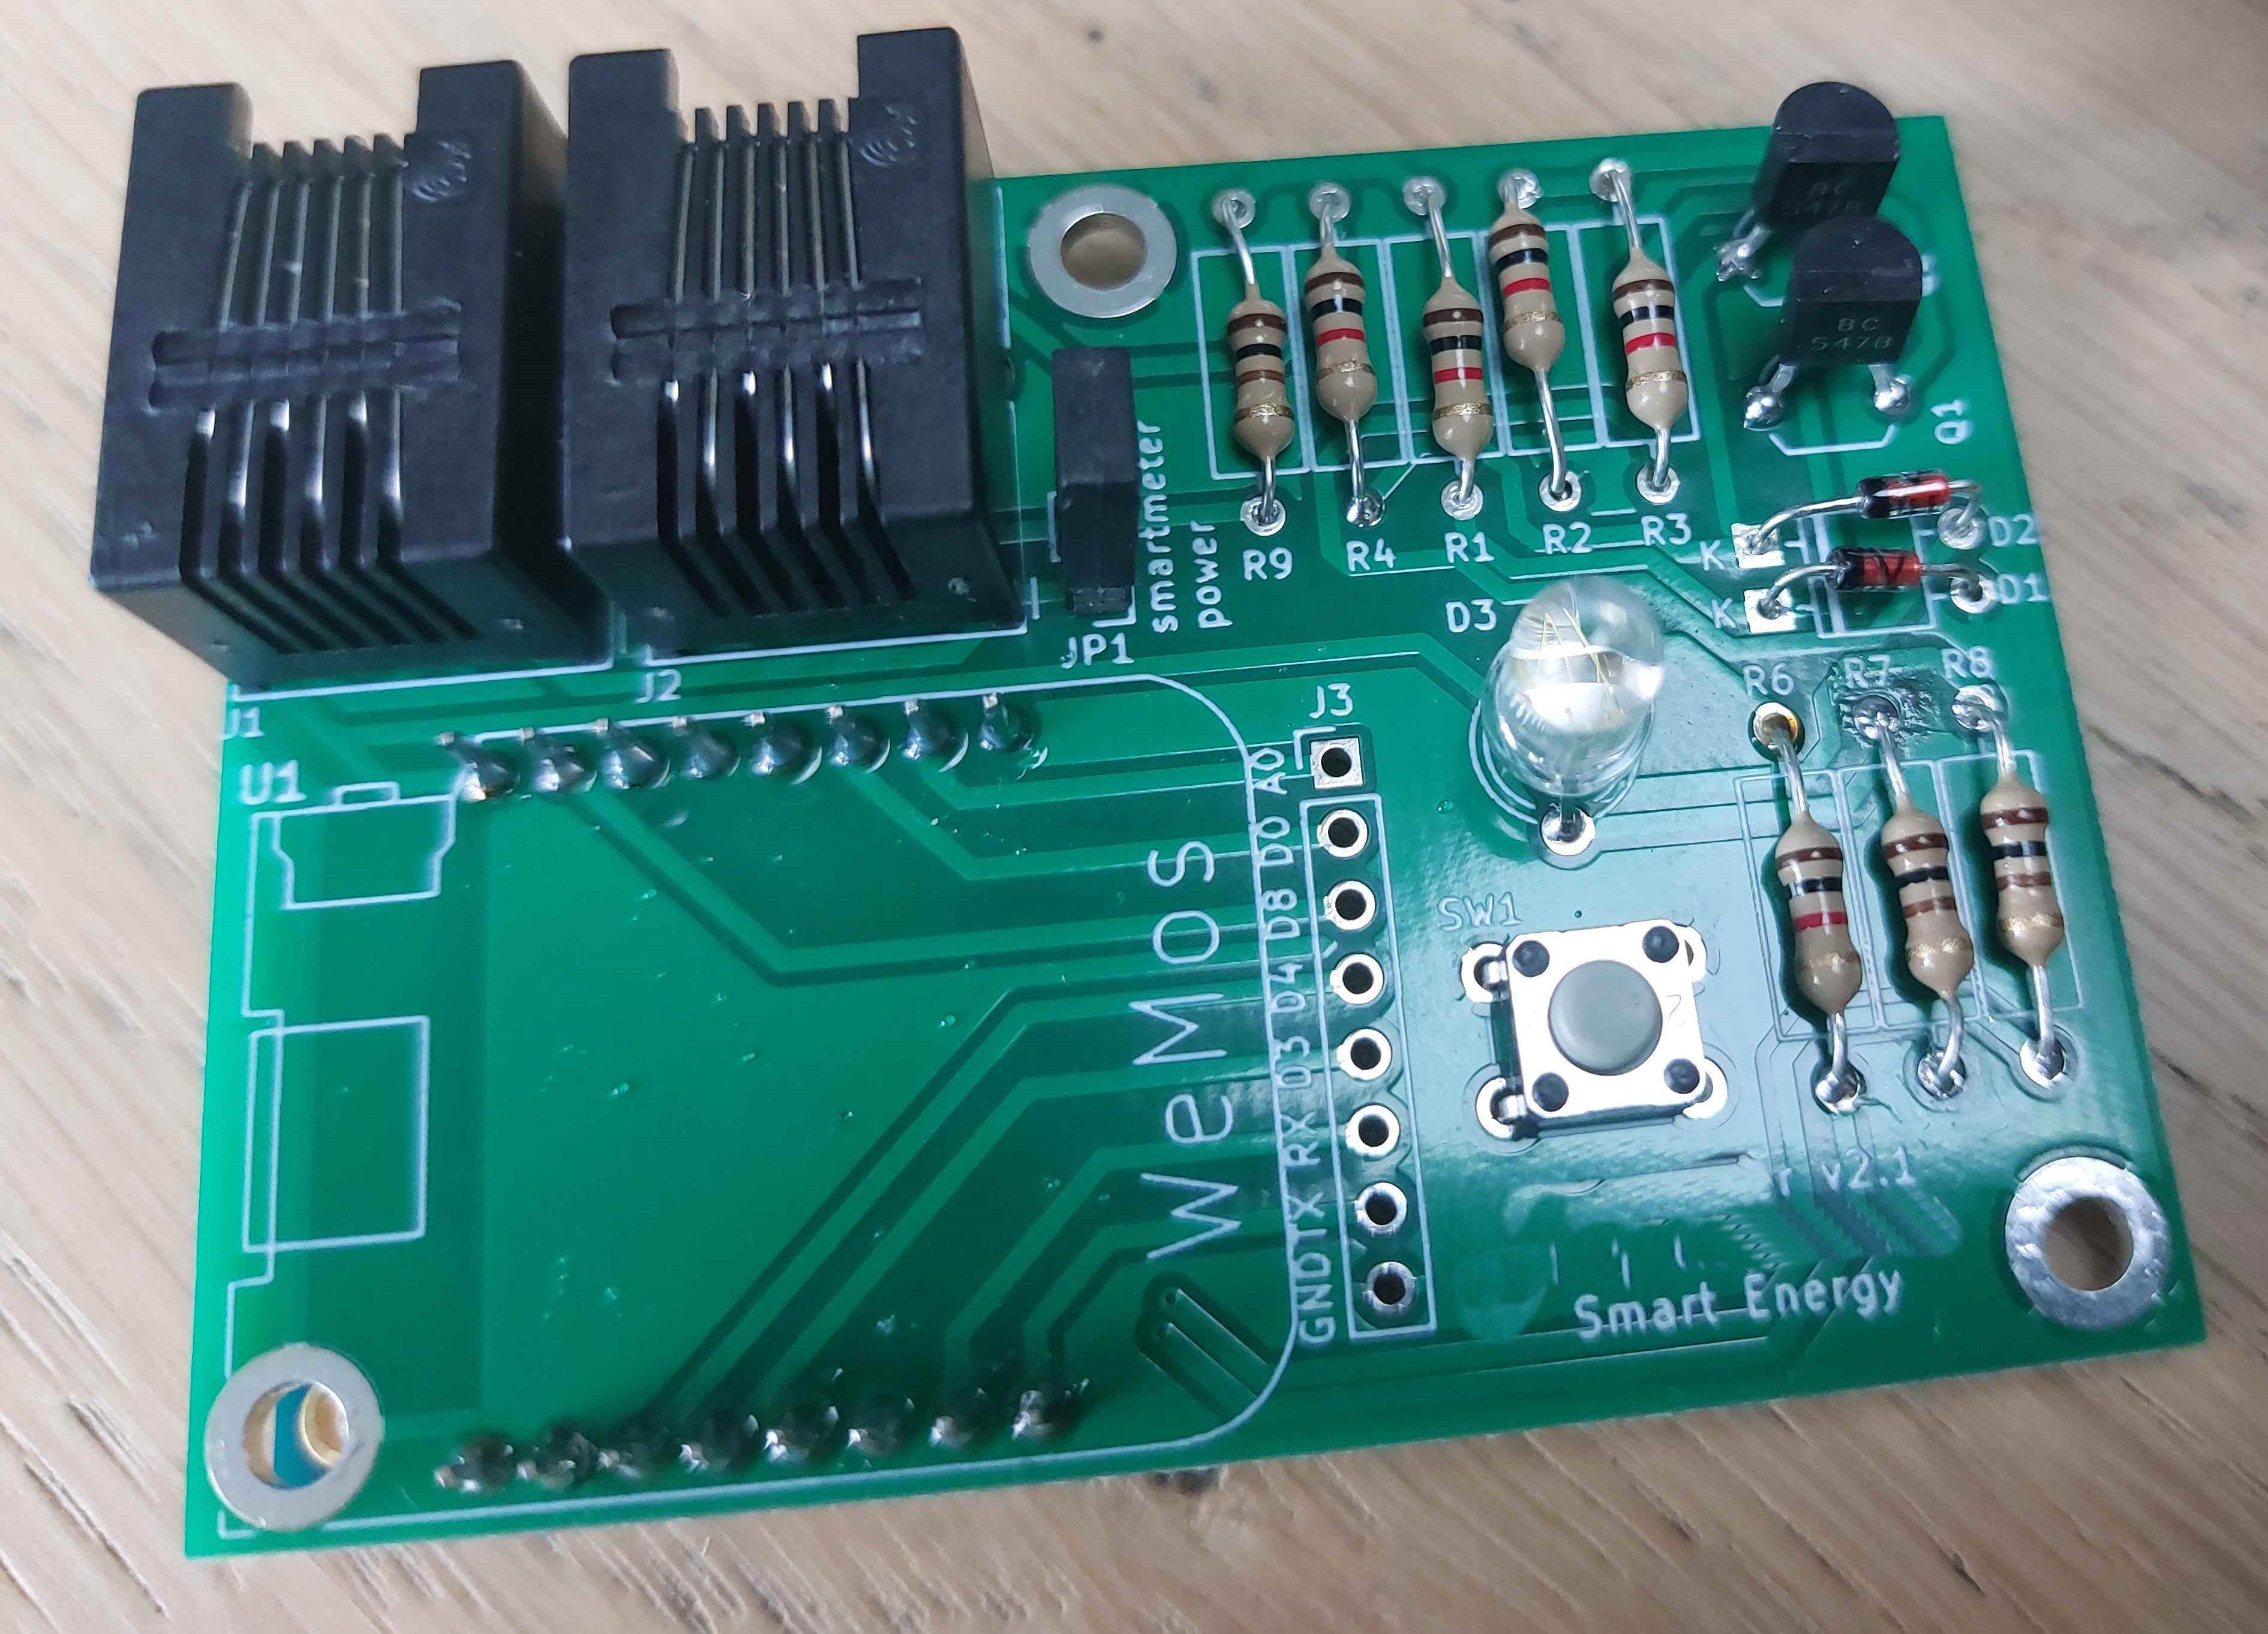
In class we got a kit of components consisting of:
- 1 pcb board
- 2 phone cable connectors (p1)
- 8 resistors (3 and 5 of both diffrent resistances)
- 2 transistors
- 2 diodes
- 1 rgb LED
- 1 button
- 1 integrated circuit
Soldering it at first was kinda tricky, using the right amount and using the right technique is something you gotta learn while doing it.
Otherwise it will turn out like this:

But after some time and finageling around i soldered it all down

The trick it so put your soldering iron on the little ring around the hole and put a tiny but of solder alloy on the iron and let it slide between the hole and the pin. You know it has enough when the ring around the pin gets all covered with molten soldering alloy in a smooth motion.
Installing the sensor onto the smart electrical box
Before you install
Before you can install the smart meter, you need to flash some software on this. This is either done in class by the teachers or you gotta do it yourself inside brightspace under the page: Smart Meter Data Processing > Project smart energy > smart meter > Firmware flashen.
Installing the smart meter is quite simple. You connect the phone(p1) cable onto the outlet of the smart electrical box (look for it, its in there somewhere, for me it was underneath a clip i had to take off). If all went well, a blue light should light up.
The blue light didnt light up
As stated in the manual in: Smart Meter Data Processing > Project smart energy > smart meter > Handleiding aansluiten smartmeter (slide 4), if the blue light didn’t light up, you need a micro-USB cable with a power of at least 5 watts. Connect this to the micro-USB port on the small blue chip and put the other end in a standard phone charger brick (and put that in a wall outlet)
Connecting the smart meter to the internet
Opening the setup web page
The smart meter needs to be connected to your home wi-fi in order to be functional. Because it cannot connect automatically you’ll need to do it yourself.
Go to your wifi settings, there should be an non-password wifi point resembling the name of the chip (something with emon in the name). Connect to it.
I don’t know for other types of phones, but on samsung (at least mine), it didnt open up any webpage automatically. For me, the url i had to go to was http://192.168.4.1. If this url doesn’t work (solution for samsung phones):
- go to your list of wifi connections.
- Press the gear button next to the wifi connection(or just the connection if there isn’t any).
- Press on “Manage router”(or any translation of it) This should open up the correct web page.
Entering your wifi credentials
Warning
Before entering your wifi credentials, take a screenshot of the
EMON IDlocated at the bottom of the wifi login page, you’ll need it if you want to see your meter data
Open up the wifi page inside the meter’s website. Click (or type in) your wifi network. Enter the password (its somewhere on your wi-fi router, or on some card near it (or ask your parents if you’re out of ideas lol)).
Submit your settings and wait for it to connect to the wi-fi
Info
If the connecting succeeded, the wifi point of the meter should disappear. If it didn’t disappear, either the password or the acces point name (or both) are wrong
Monitoring your meter’s data
Finally, go to https://grafana.sendlab.nl/
The username and password are located on slide 8 inside Smart Meter Data Processing > Project smart energy > smart meter > Handleiding aansluiten smartmeter.
Select the serial number you screenshotted in Entering your wifi credentials in the dropdown menu at the top of the page (type in everything past the EMON19V01- inside the text box to find it faster).
Congrats! you just set up your smart meter and can monitor it from the website!! :3