Have you ever had the question “Gee, i really want to change the icon i see when i boot up my pc or laptop”. Well, yeah me neither. Until three days ago when the video of someone changing their boot screen to the gamecube boot screen pop up on my feed.
Changing my boot icon
I did some googling and stumbled upon a piece of software called HackBGRT. It was exactly what i needed, though it only claimed to work for images (so no moving animations sadly). The steps on how to do it were fairly straightforward luckily
Installing HackBGRT
Once downloaded from their github page, i put the extracted zip onto the root of my C:\ drive (so it was in C:\HackBGRT\).
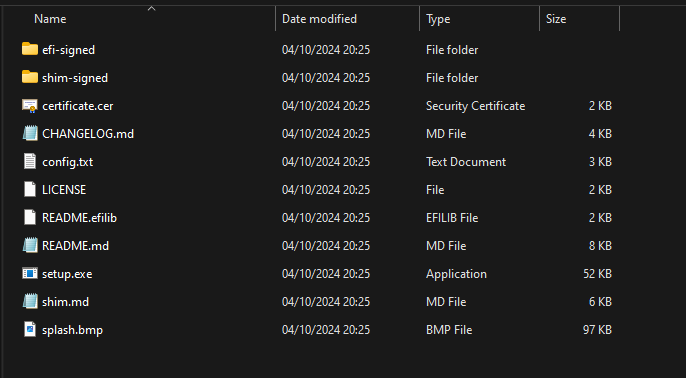
In there, you see a bunch of different files, but the ones I’m interested in are the setup.exe and the splash.bmp.
Setting the custom icon
The splash.bmp is a bitmap file. A bitmap file is basically an image in the form of a big list which says what the rgb value is of every pixel. (something like: [0, 0] =(R:255, G:130, B:255). [0, 1] = etc…).
This is the file set in the config to be used as the boot icon.
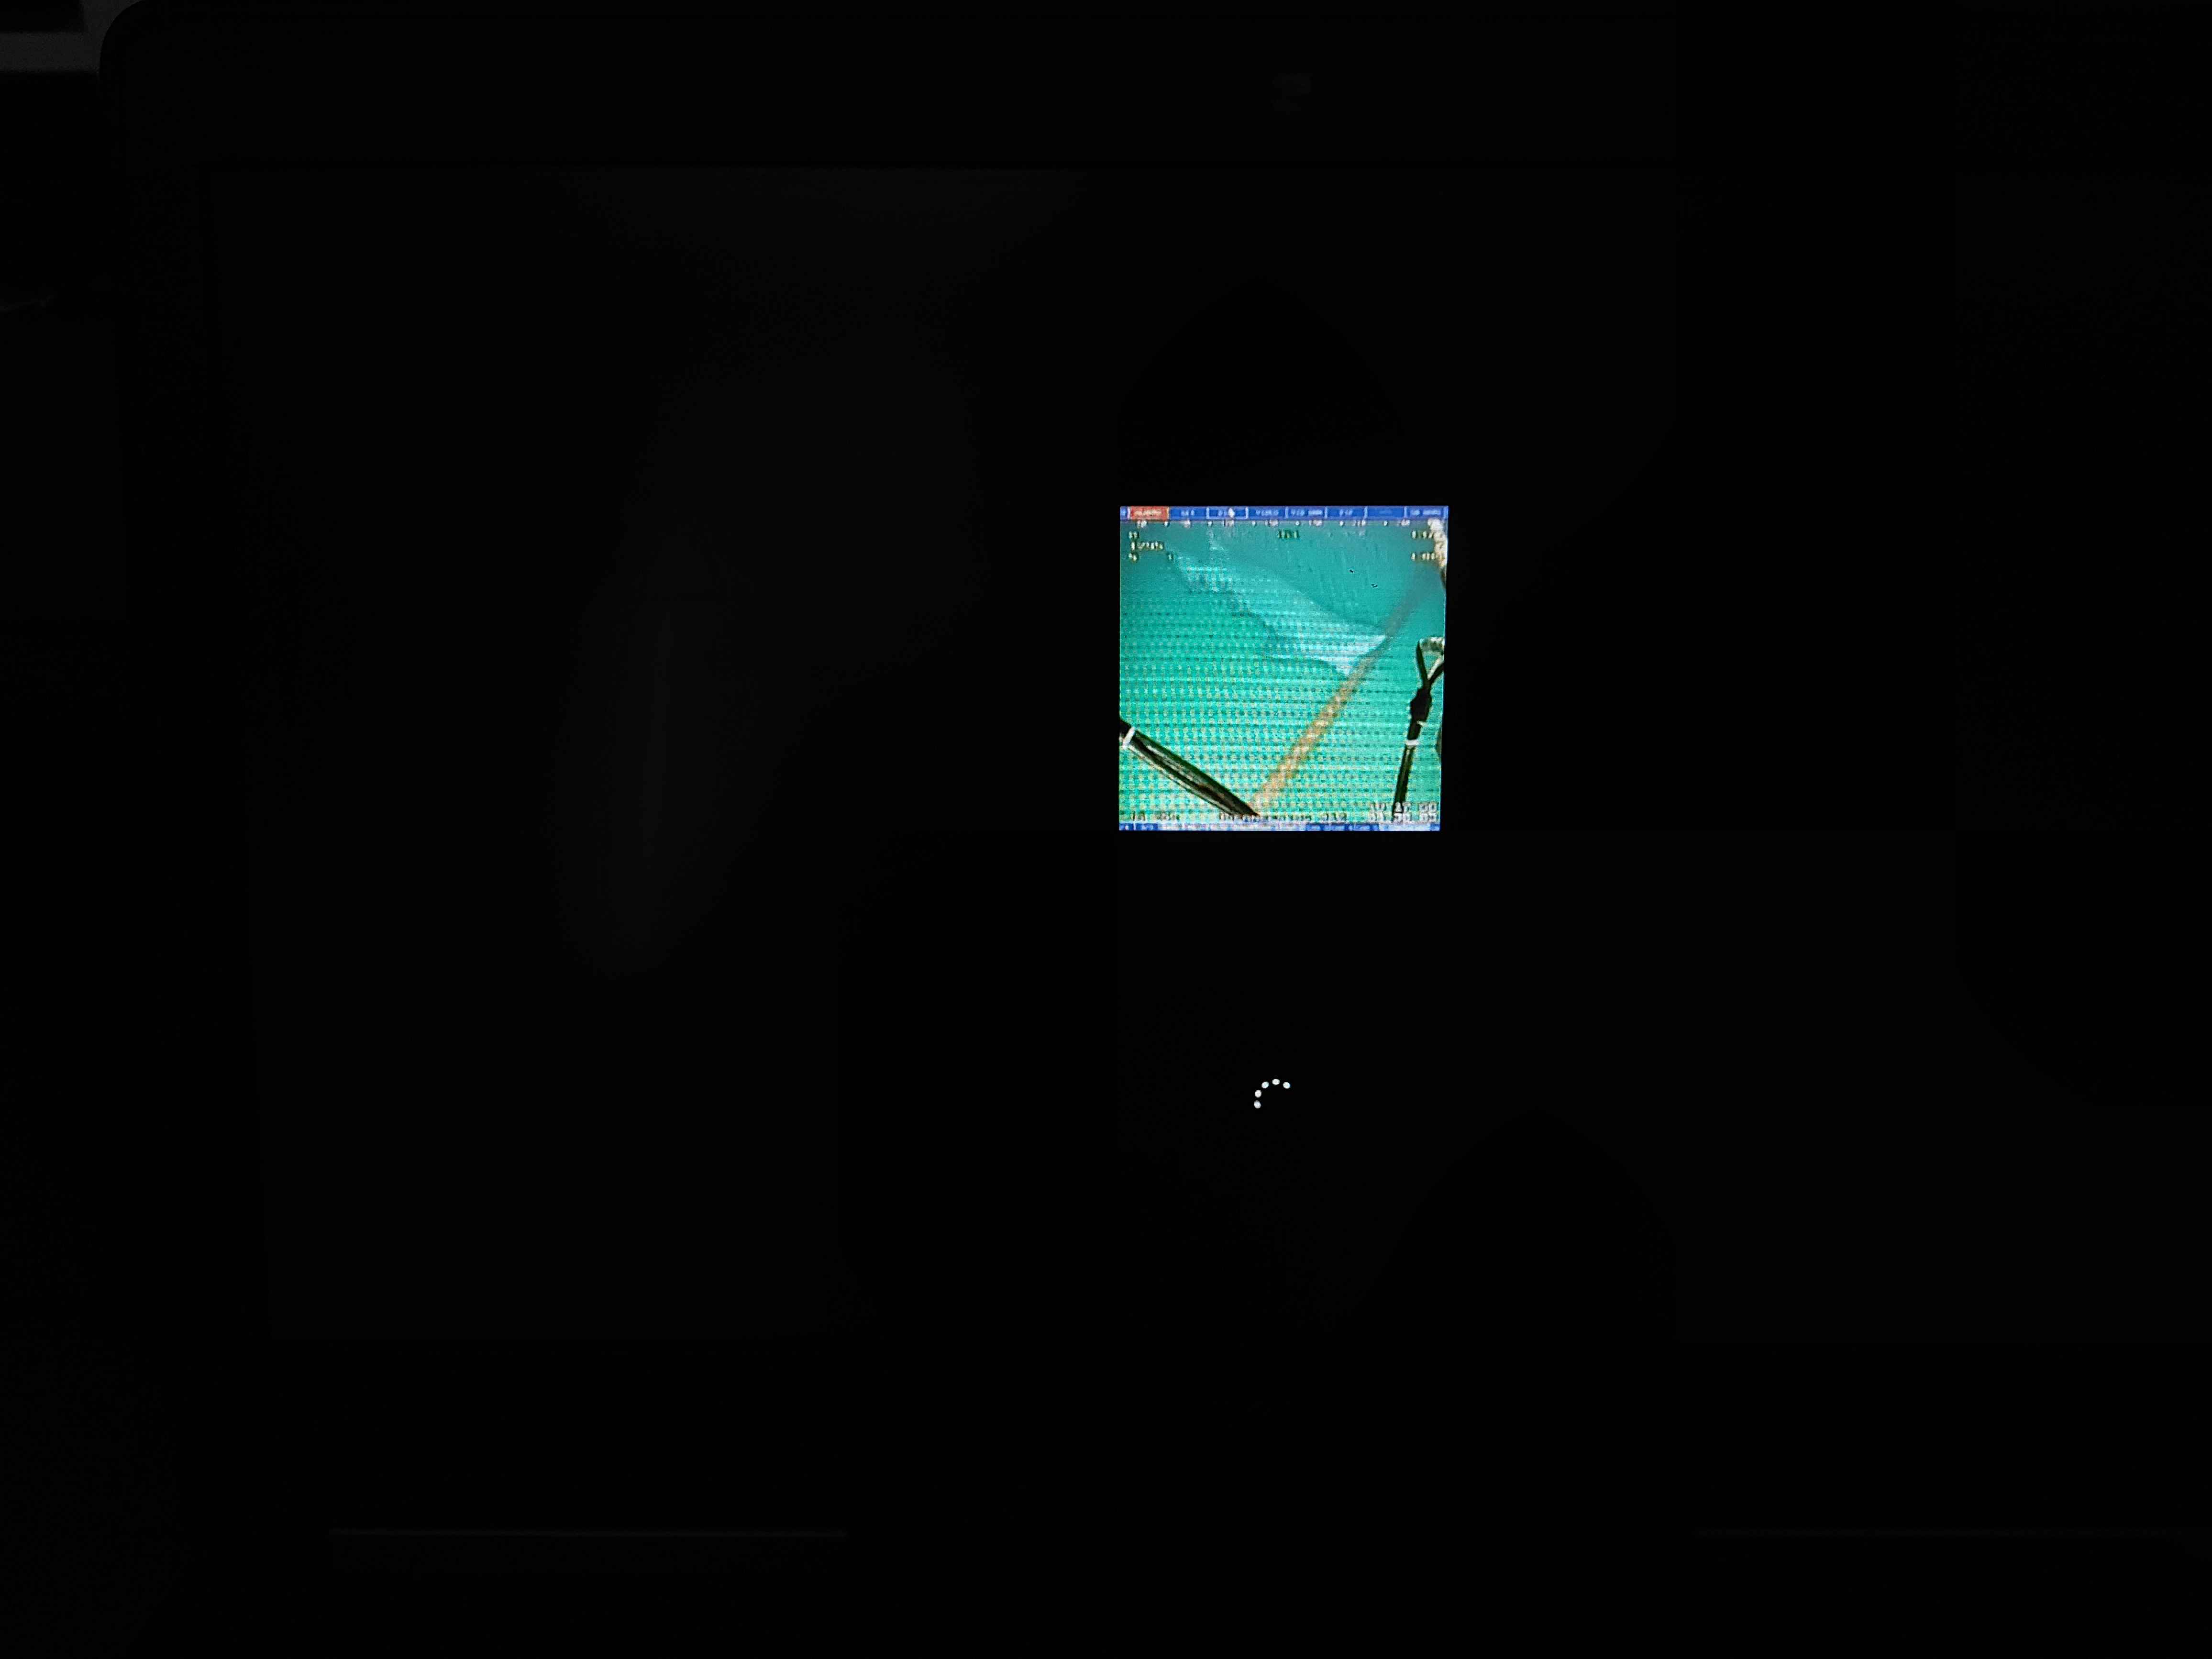
Right now its just the default icon, so lets change it to something else. Like this photo of a shark eating an optic fiber cable. (you can use whatever image you like)
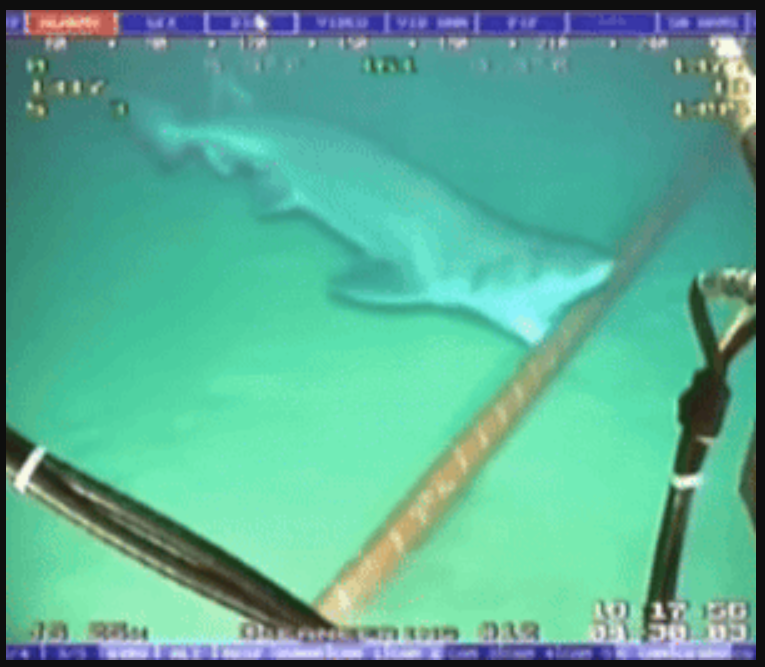
You grab the image file, in this case shark.png and put it in the same directory as the setup.exe.
Now you got two options:
- convert the file to a
.bmpand replace the existingsplash.bmp - edit the config to select the
shark.pngI chose the latter and edited the config.
Editing the config to choose a custom image
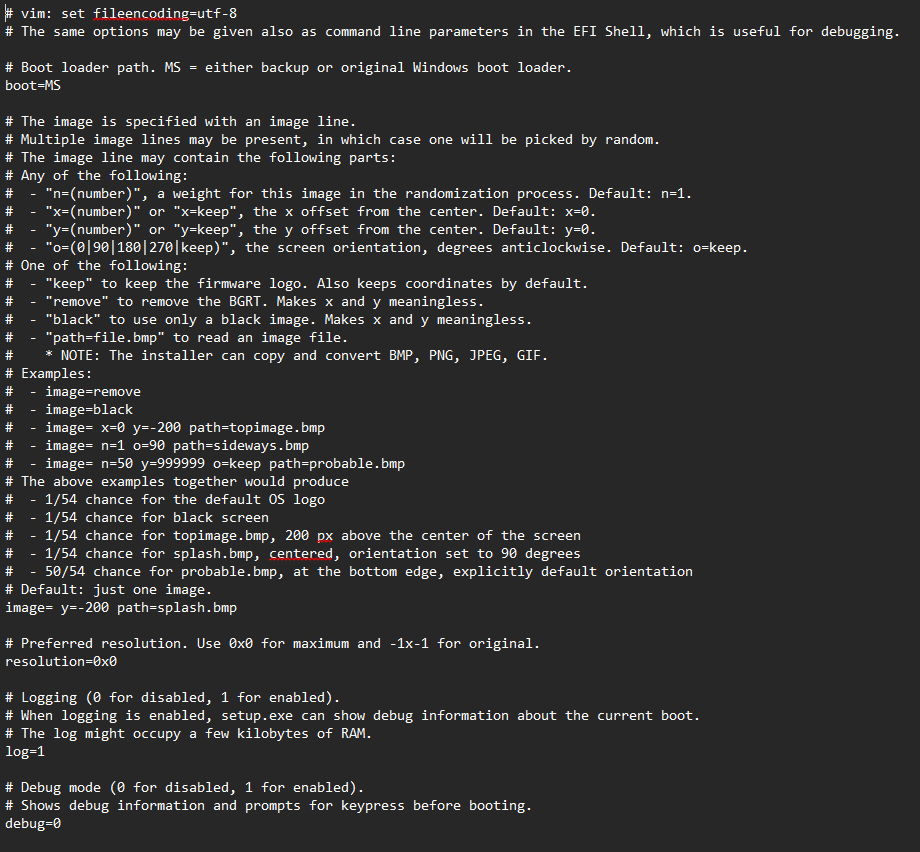 Now the config got a whole bunch of stuff in it, but the only functional part are the lines of text without an ”#” in front of them, the hastag text is just an explanation of how the syntax works.
The part we are interested in is this:
Now the config got a whole bunch of stuff in it, but the only functional part are the lines of text without an ”#” in front of them, the hastag text is just an explanation of how the syntax works.
The part we are interested in is this:
 yes, just those two lines.
well, actually only the top part, the bottom part which says
yes, just those two lines.
well, actually only the top part, the bottom part which says resolution=0x0 just determines weter the image resolution will be maximized or kept as the resolution of the image itself (or a custom resolution)
Selecting the custom image
Accepted image files
You can use the files BMP, PNG, JPEG/JPG or GIF as acceptable files, though GIF’s will only show the first frame and wont play
You can use multiple images
Type multiple lines of
image=[properties]to set multiple images Keep in mind that this randomizes them. Use then=[weight]property to set the chance of the image appearing
Now, if we want the program to use our image, we change the image propterty to this:
image= path=shark.pngthis makes the image show up on our boot screen. If you’re satisfied with this, you can move on to Running the installer. If not, then keep reading for some other customization
Additional image properties
As you may have noticed, the default image had an additional property set: y=-200. This is what’s called the position offset. -200 means the image will move 200 pixels negatively on the y axis, which in this case means up.
The list of properties you can choose from are:
- Horizontal offset(x): moves the image horizontally from the center by how many pixels you set it to. negative values are left and positive values are right. Default = 0
x=300/x=-200
- Vertical offset(y): moves the image vertically from the center by how many pixels you set it to. negative values are up and positive values are down. Default = 0
y=50/y=-100
- Randomization weight(n): in case there are multiple images, you can give it a weight to influence the chance of it appearing. Higher values mean it appears more frequently. Default = 1
n=5
- Orientation(o): The orientation of the image in degrees anticlockwise. Can either be 0, 90, 180, 270 or keep. Default = keep
o=90/o=keep
- Icon properties:
- Keep: keeps the default firmware logo set by your motherboard. Also works with offset.
image=keep
- Remove: Shows no icon. Makes the offset meaningless
image=remove
- Black: Shows a black image. Makes the offset meaningless
image=black
- path: Uses a custom image set by the path. the image needs to be on the same directory as the
setup.exe. Only works with BMP, PNG, JPEG/JPG and GIF. GIF’s do not play.image= path=image.bmp/image= path=image.jpg
- Keep: keeps the default firmware logo set by your motherboard. Also works with offset.
Info
The config doesn’t really care for spaces in the properties, so you can add some for readability
After setting the properties to your satisfaction, save and close the config file. We can move on to getting the images actually on the boot screen. (It’s simpler than you might think).
Running the installer
Run the setup.exe file. A command prompt window will pop up.
Windows may intervene and tell you its an unrecognized app. Just click “more info” and then “Run anyway”.
Something like this should pop up:
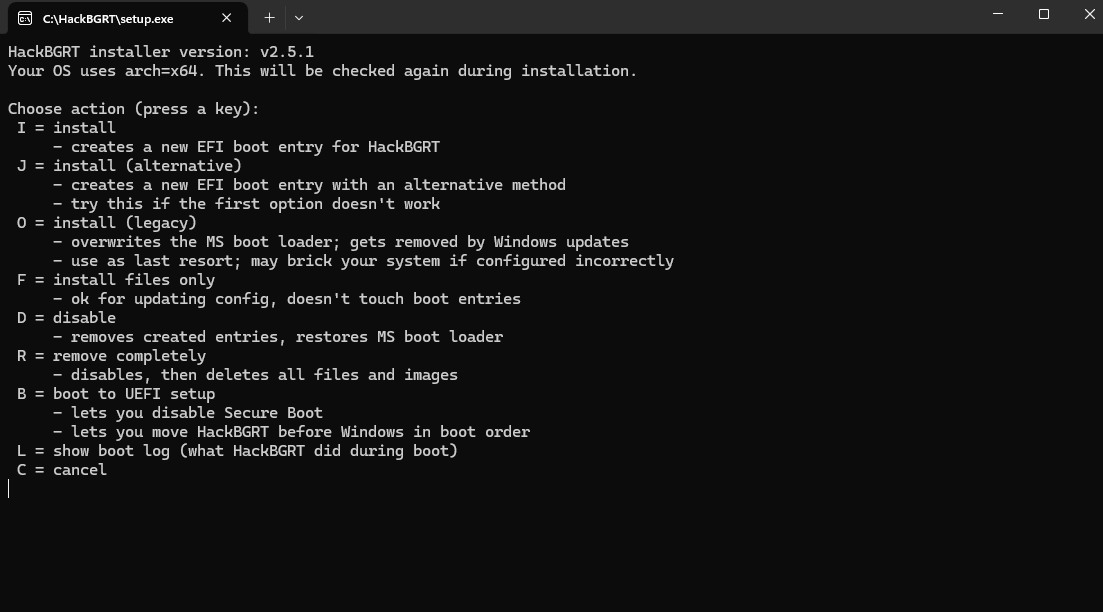 There’s a whole bunch of options. Choose option
 I. This will install the program. It will open the splash.bmp file in an editor, either edit this or close it.
It will then prompt administrator permissions, accept those.
It will now install everything it needs to do and, if everything went right, it should say something to the likes of:
Completed action 'install' successfully.
BitLocker is disabled, good!
Enabled NVRAM entry for HackBGRT with BCDEdit.
Writing EFI variable Boot0001 (see log for details)
Verifying config: boot=MS
Completed action 'enable-bcdedit' successfully.
If you need to report a bug,
 - run this setup again with menu option L (show-boot-log)
 - then include the setup.log file with your report.
Press any key to quit.
All that matters is that it says it did everything succesfully. you can now press any key to quit (twice for both windows).
Important
If you add a list of images, i recommend deinstalling and installing, because otherwise your boot partition storage may run out and you wont be able to add images again. deinstalling removes all images and takes 2 seconds.
Congratulations! You have now hacked your motherboard to show a silly image of your liking. Don’t leave yet though, because there is one more important step!!!
Telling your motherboard everything is ok
Once you reboot, your bootloader will complain and show this big scary screen that says:
ERROR
Verification failed: (0x1A) Security Violation


+----+
| OK |
+----+
Don’t freak out, this is supposed to happen. It means your boot loader has noticed some files are there which are not trusted by default. You will have to follow a procedure listed on the HackBGRT readme to make the bootloader trust the files you use. You can either follow the link or the steps i will list here (they’re the same, i copied them).
1. Verification failed
This is the start of shim configuration.
ERROR
Verification failed: (0x1A) Security Violation
+----+
| OK |
+----+
Select OK, Enter.
Shim UEFI key management
Press any key to perform MOK management
Booting in 5 seconds
Press a key quickly to enter MOK management or the MOKManager program.
2. MOK management
Perform MOK management

Continue to boot
Enroll key from disk
Enroll hash from disk
Select Enroll hash from disk, Enter. This is the safest option where you choose to trust only a specific version of HackBGRT.
You can also choose to Enroll key from disk, which means that you choose to trust anything signed with the same certificate. How do you know if it’s safe? You don’t – that’s why you should rather use the other option or build your own version of HackBGRT with your own certificate.
3a. Enroll hash from disk
Select Binary

The Selected Binary will have its hash Enrolled
This means it will subsequently Boot with no prompting
Remember to make sure it is a genuine binary before enrolling its hash

+----------------+
| YOUR DISK NAME |
+----------------+
Select the disk, Enter.
+---------------+
|     EFI/      |
|    loader/    |
| vmlinuz-linux |
+---------------+
Select EFI/, Enter.
+------------+
|    ../     |
|   Boot/    |
| HackBGRT/  |
| Microsoft/ |
+------------+
Select HackBGRT/, Enter.
+-----------------+
|       ../       |
|   grubx64.efi   |
|   loader.efi    |
|    mmx64.efi    |
| certificate.cer |
|   splash.bmp    |
|   config.txt    |
+-----------------+
Select grubx64.efi, Enter.
[Enroll MOK]

+------------+
| View key 0 |
|  Continue  |
+------------+
To verify the key contents, select View key 0, Enter.
SHA256 hash
(some hexadecimal values)
Press Enter to continue.
[Enroll MOK]

+------------+
| View key 0 |
|  Continue  |
+------------+
Select Continue, Enter.
Enroll the key(s)?

+-----+
| No  |
| Yes |
+-----+
Select Yes, Enter.
Perform MOK management

+-----------------------+
|        Reboot         |
| Enroll key from disk  |
| Enroll hash from disk |
+-----------------------+
Select Reboot, Enter.
You are now ready to boot using HackBGRT.
3b. Enroll key from disk
Select Key

The selected key will be enrolled into the MOK database
This means any binaries signed with it will be run without prompting
Remember to make sure it is a genuine key before Enrolling it

+----------------+
| YOUR DISK NAME |
+----------------+
Select the disk, Enter.
+---------------+
|     EFI/      |
|    loader/    |
| vmlinuz-linux |
+---------------+
Select EFI/, Enter.
+------------+
|    ../     |
|   Boot/    |
| HackBGRT/  |
| Microsoft/ |
+------------+
Select HackBGRT/, Enter.
+-----------------+
|       ../       |
|   grubx64.efi   |
|   loader.efi    |
|    mmx64.efi    |
| certificate.cer |
|   splash.bmp    |
|   config.txt    |
+-----------------+
Select certificate.cer, Enter.
[Enroll MOK]

+------------+
| View key 0 |
|  Continue  |
+------------+
To verify the key contents, select View key 0, Enter.
[Extended Key Usage]
OID: Code Signing

[Serial Number]
6B:24:52:E9:3B:84:41:73:B0:22:92:E8:BE:8E:38:85:

[Issuer]
CN=HackBGRT Secure Boot Signer, O=Metabolix

[Subject]
CN=HackBGRT Secure Boot Signer, O=Metabolix

[Valid Not Before]
Nov  9 13:43:56 2023 GMT

[Valid Not After]
Jan 19 03:14:07 2037 GMT

[Fingerprint]
79 8E 64 40 D1 D1 F4 53 30 8D
A0 83 A4 77 FE 57 45 30 36 60
Press Enter to continue.
[Enroll MOK]

+------------+
| View key 0 |
|  Continue  |
+------------+
Select Continue, Enter.
Enroll the key(s)?

+-----+
| No  |
| Yes |
+-----+
Select Yes, Enter.
Perform MOK management

+-----------------------+
|        Reboot         |
| Enroll key from disk  |
| Enroll hash from disk |
+-----------------------+
Select Reboot, Enter.
Great job following steps! I knew you had it in you :3 You’re now all set up and once you reboot it should show your image on your screen.
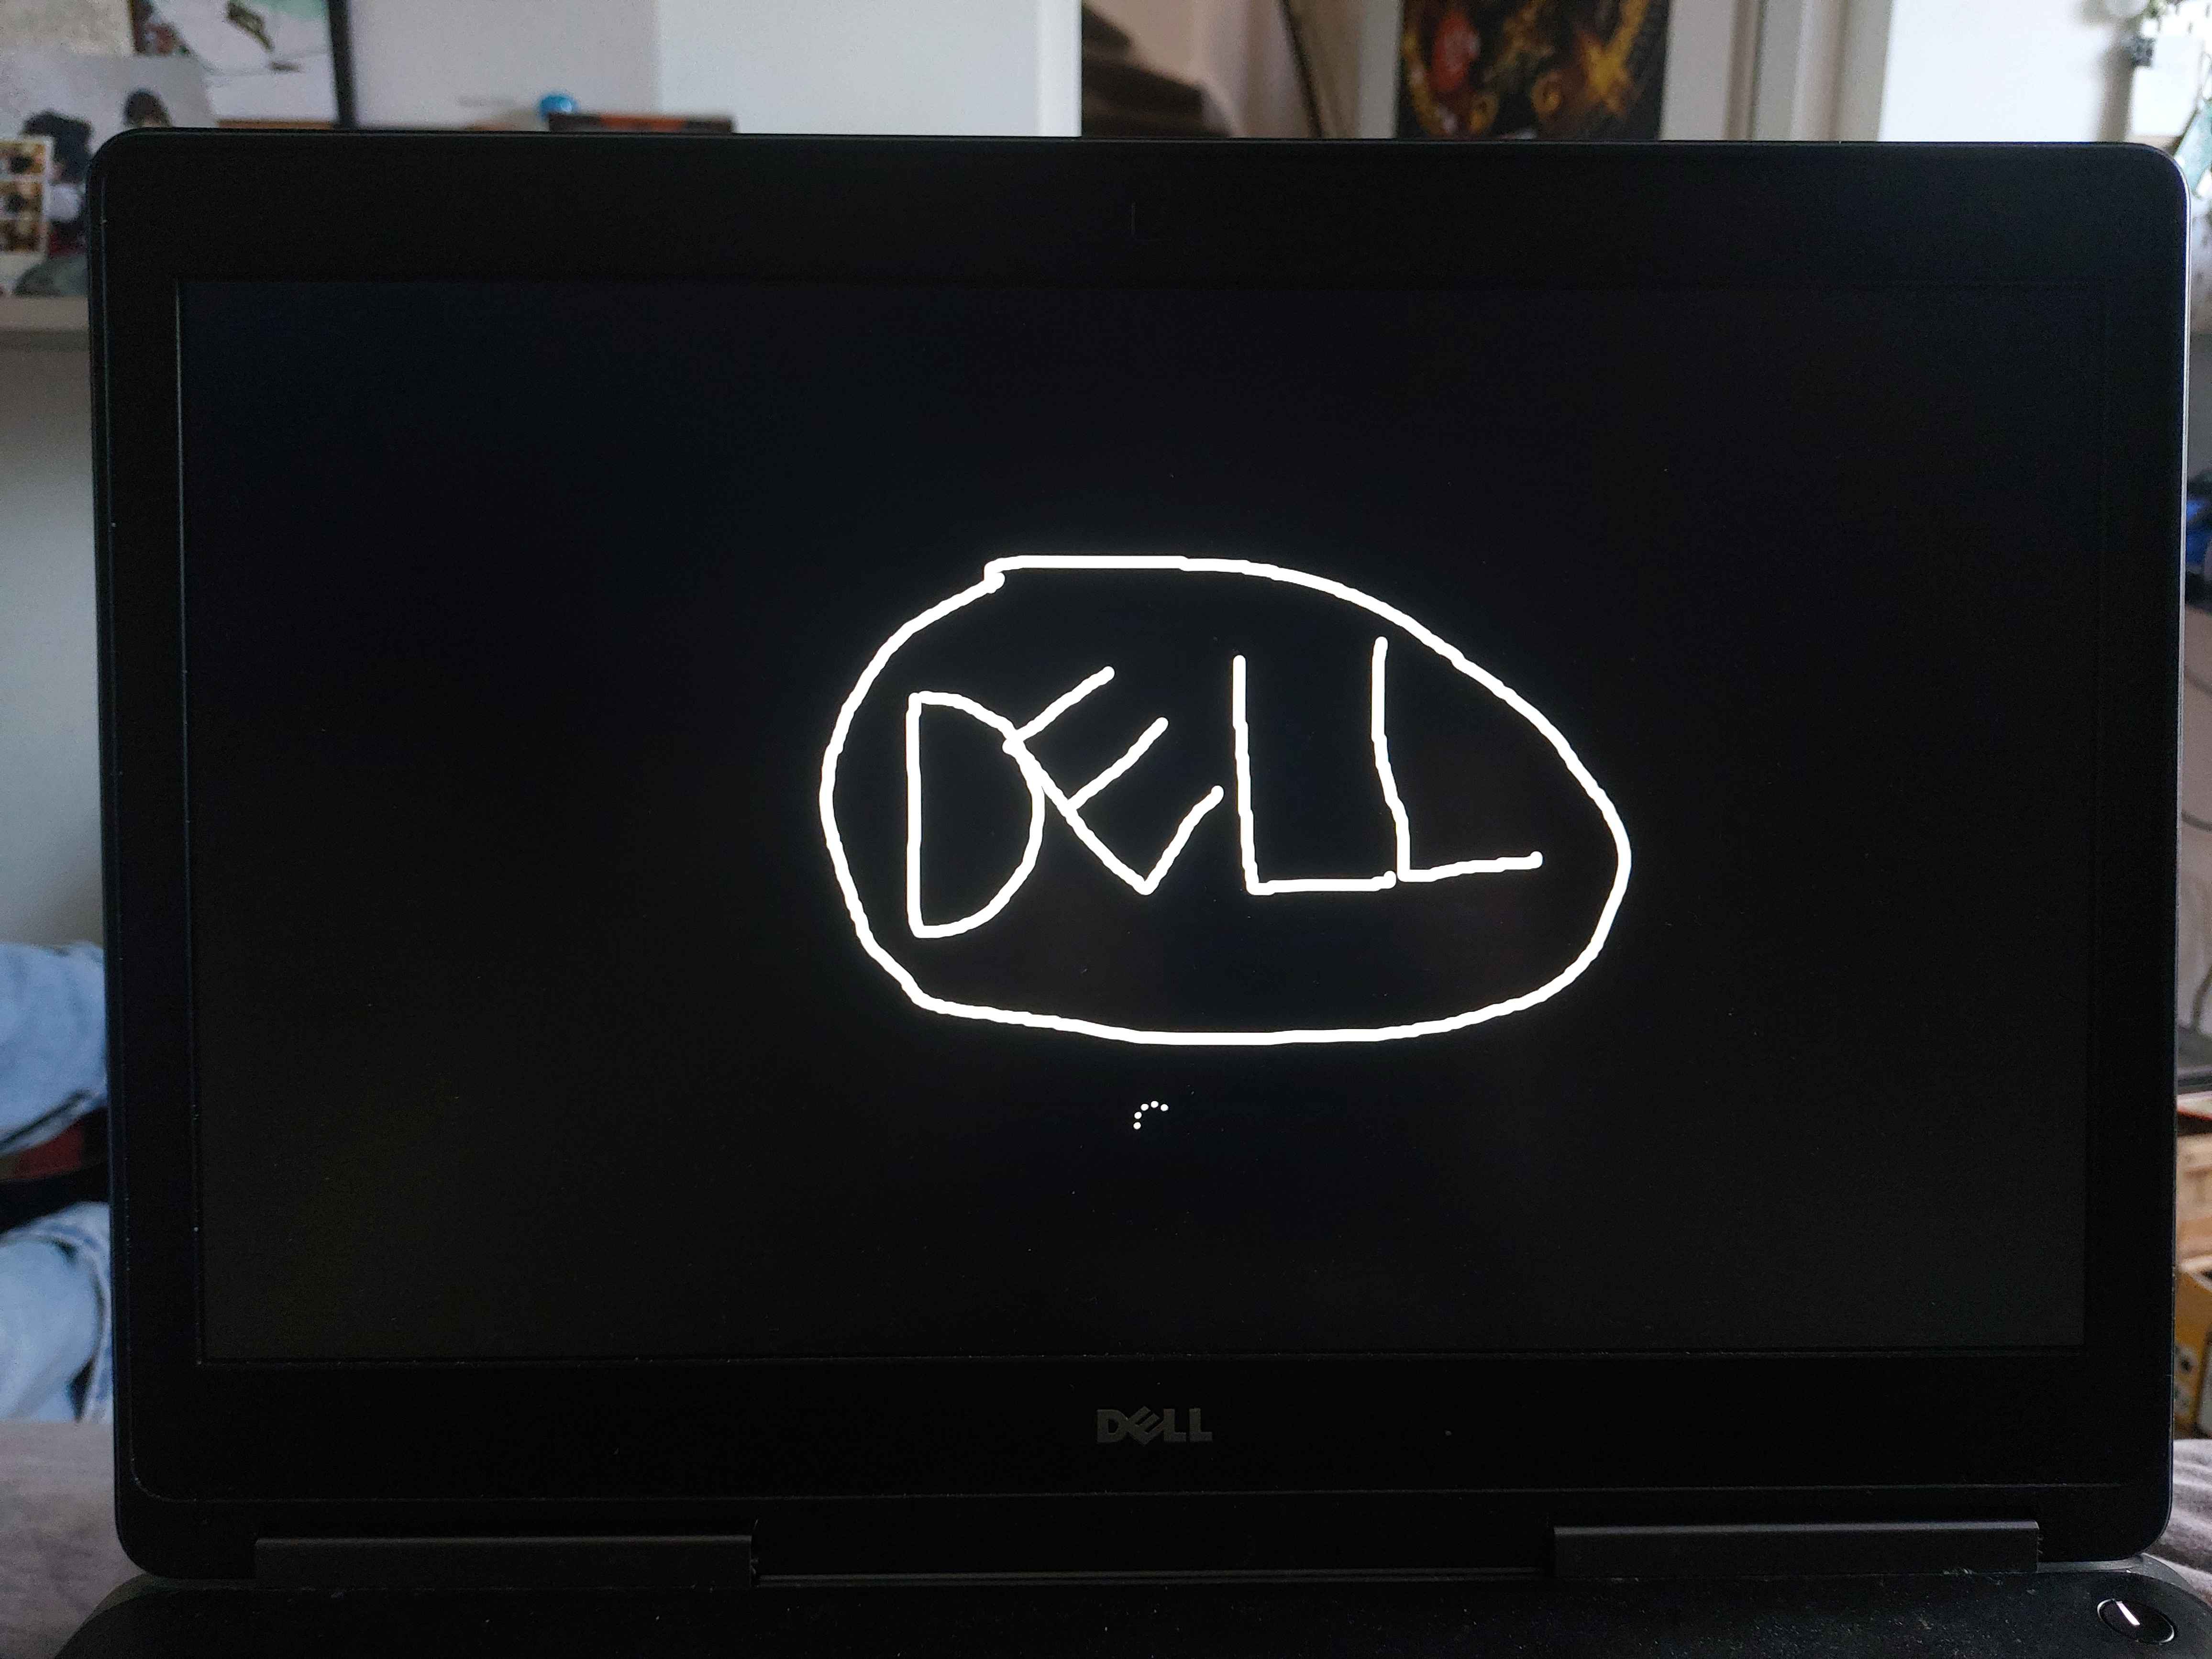
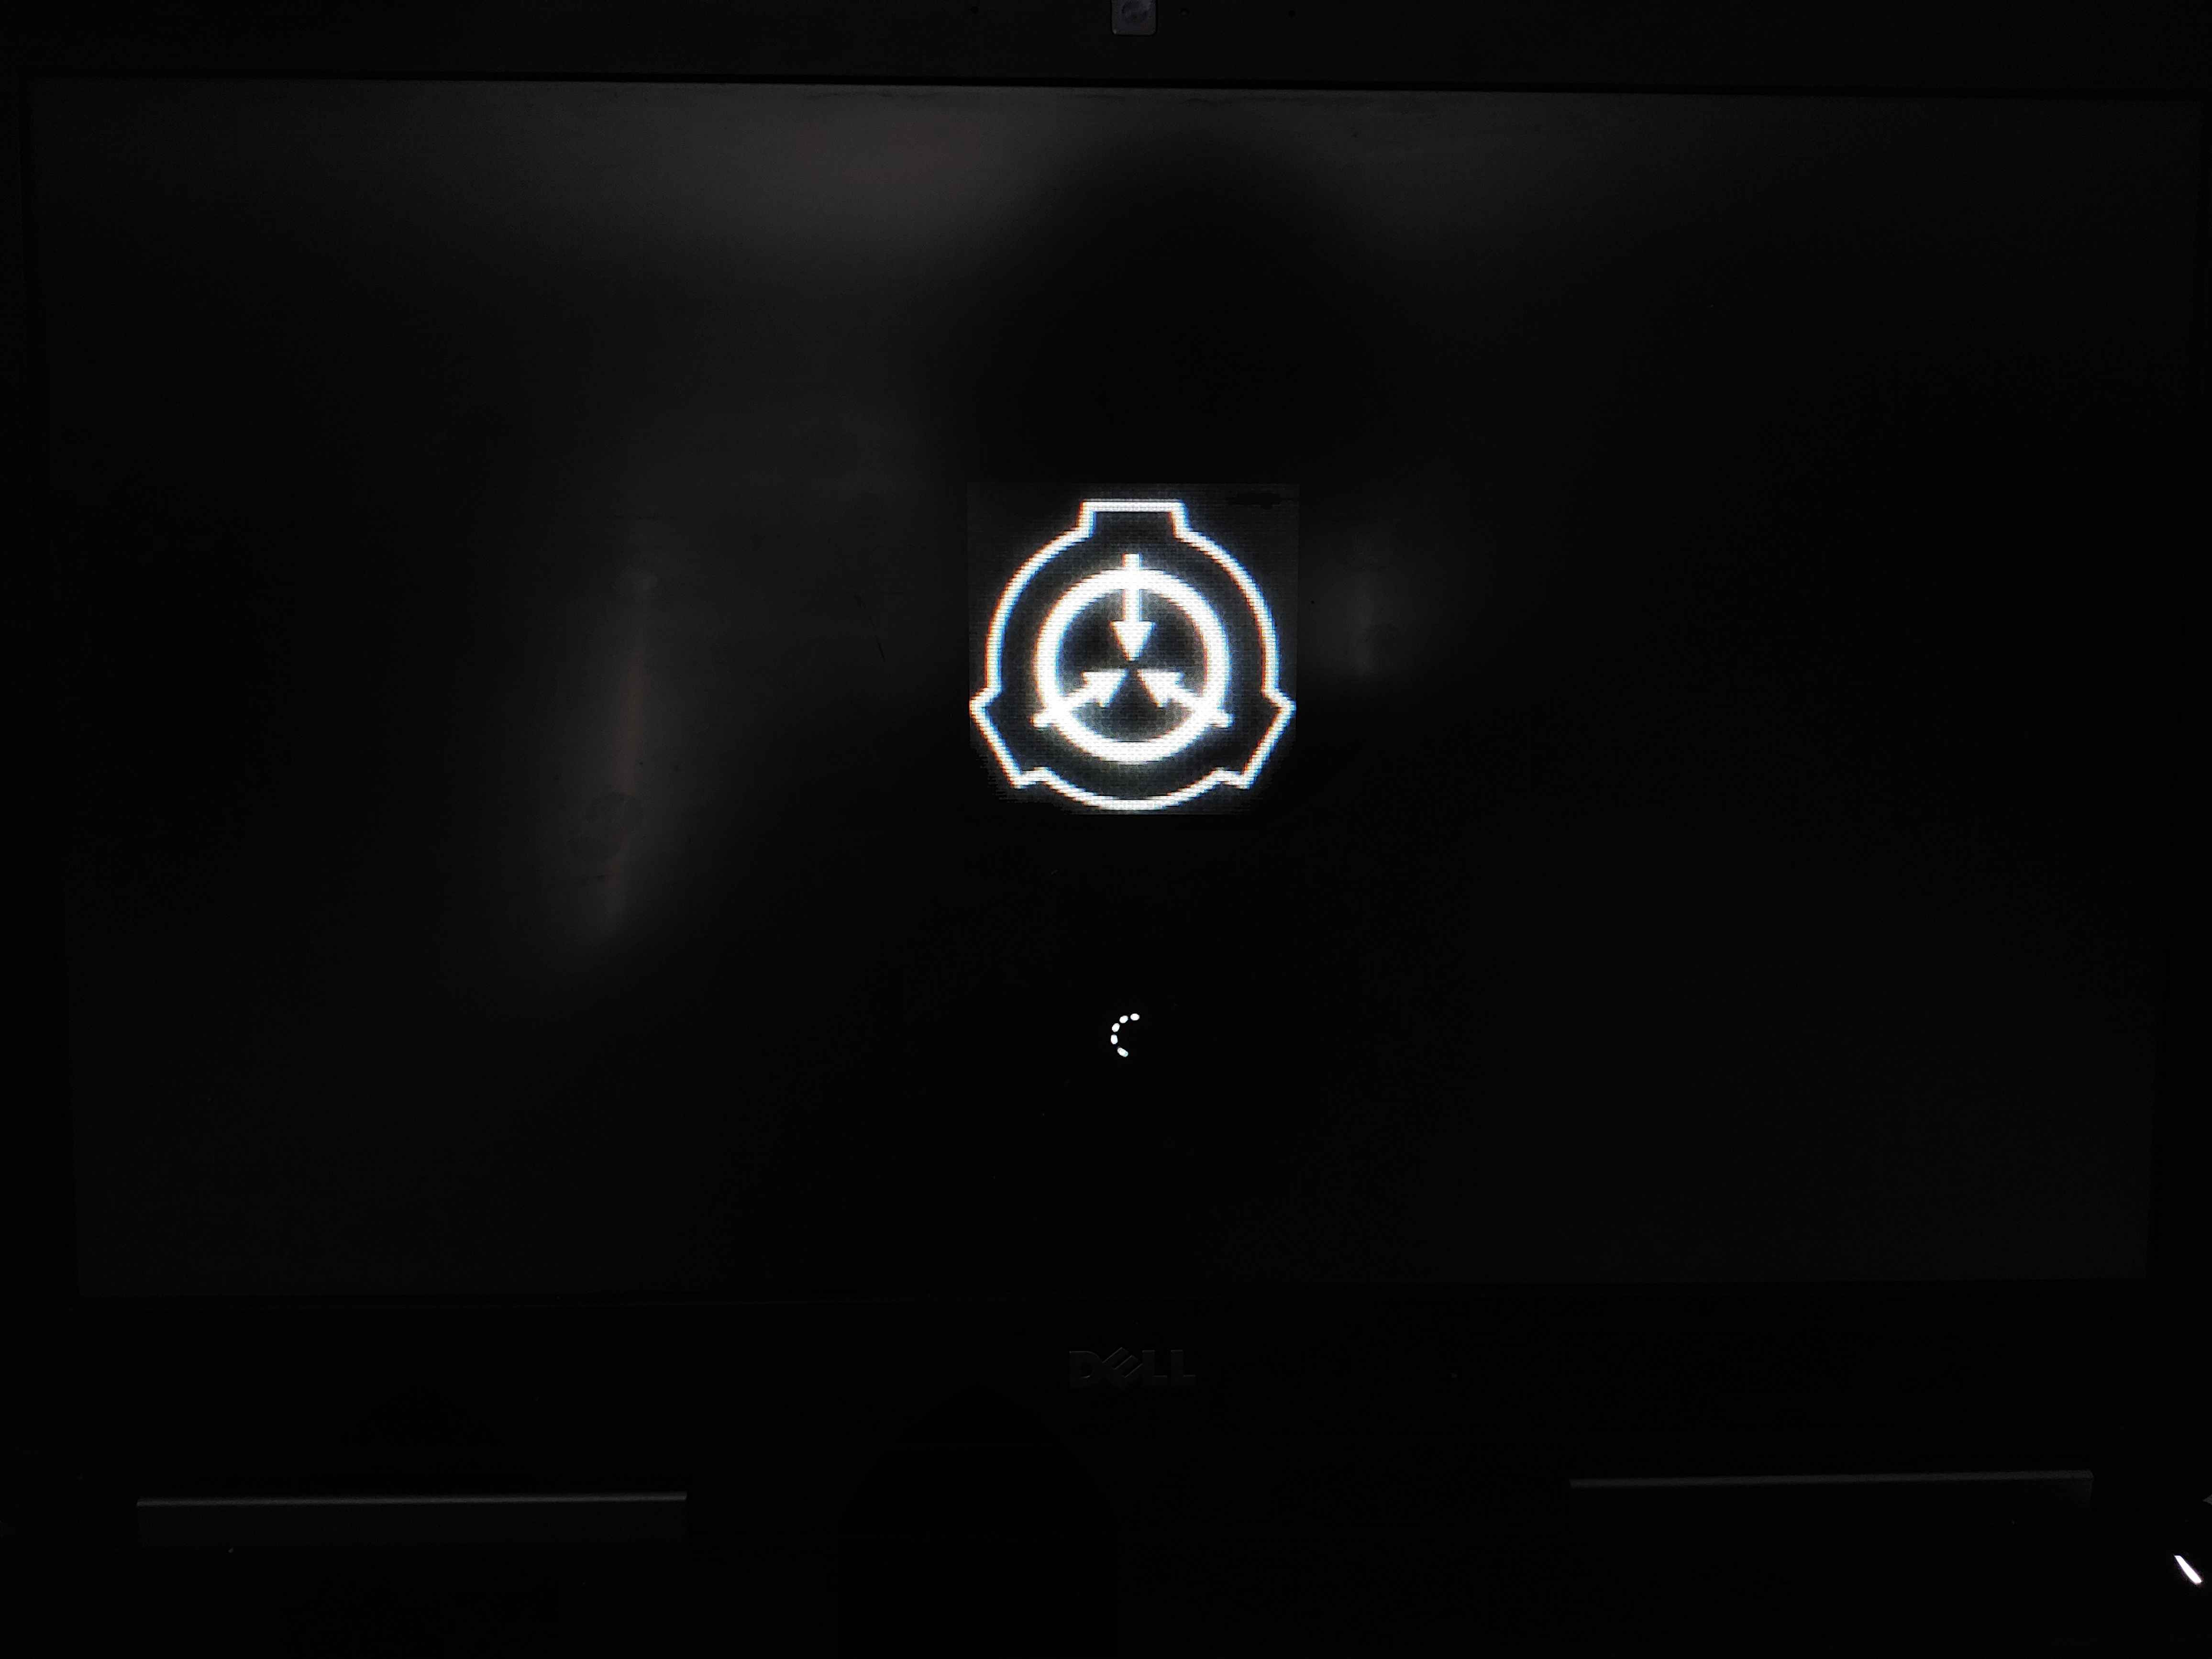
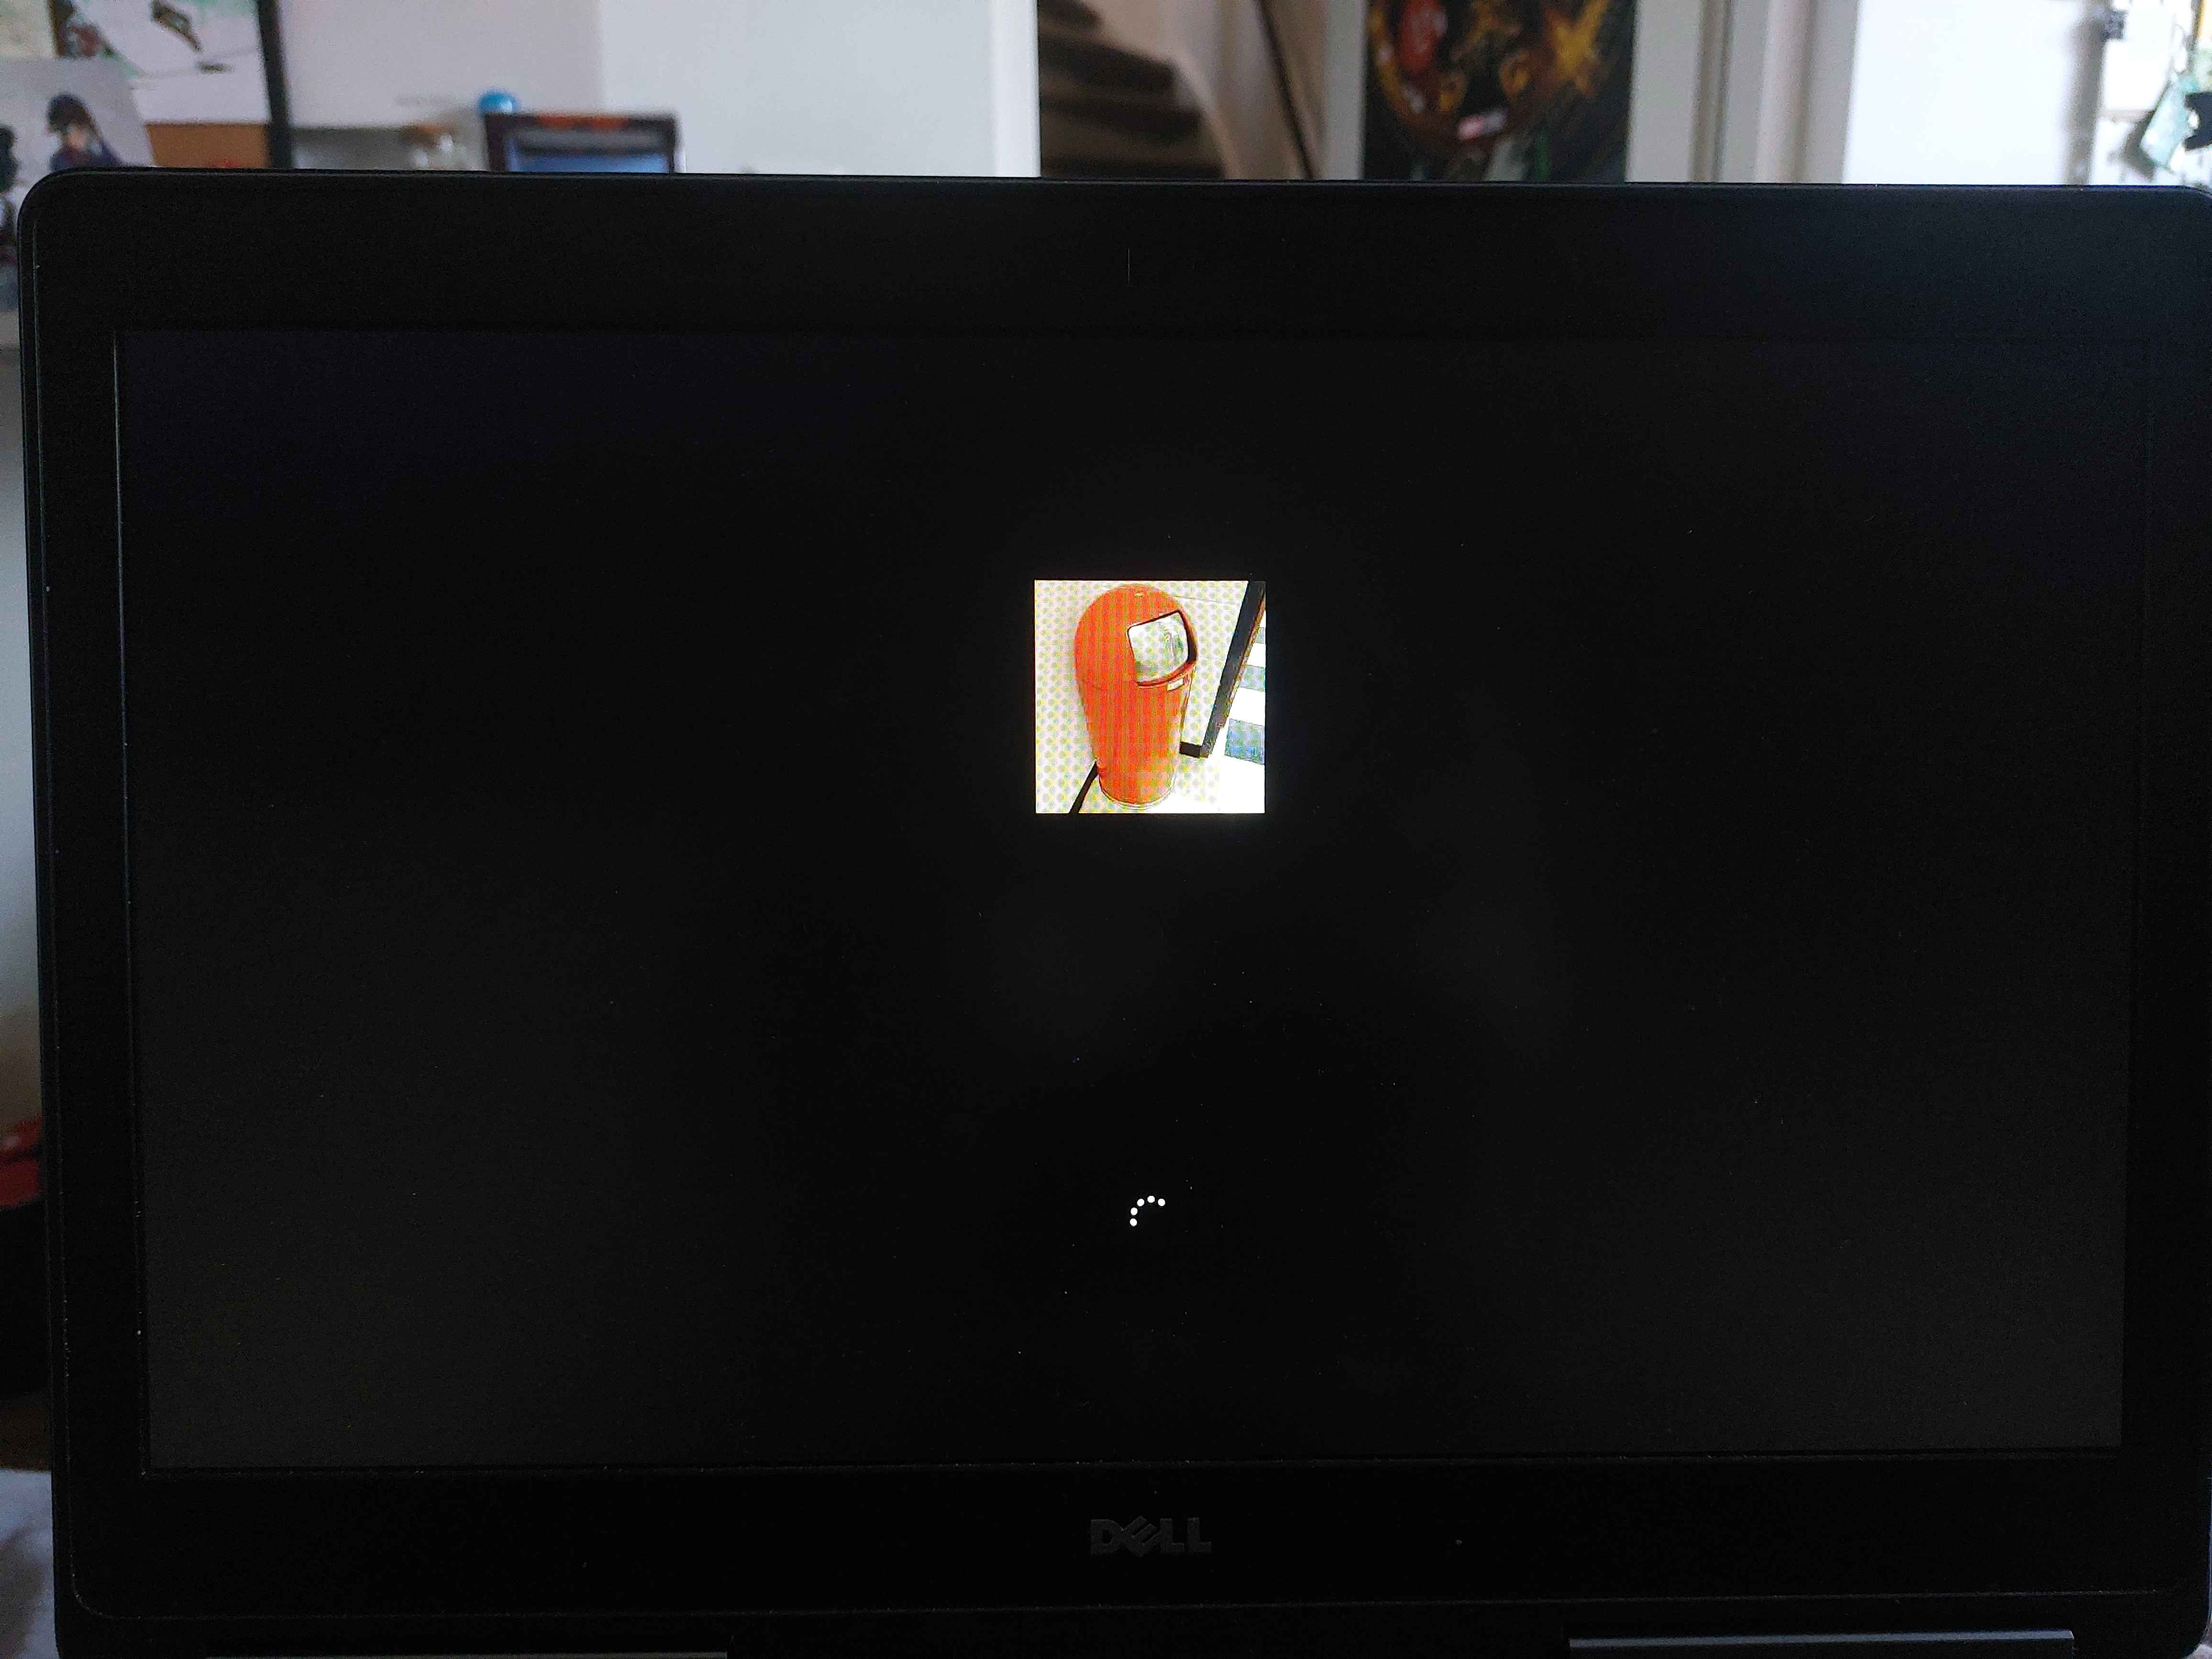
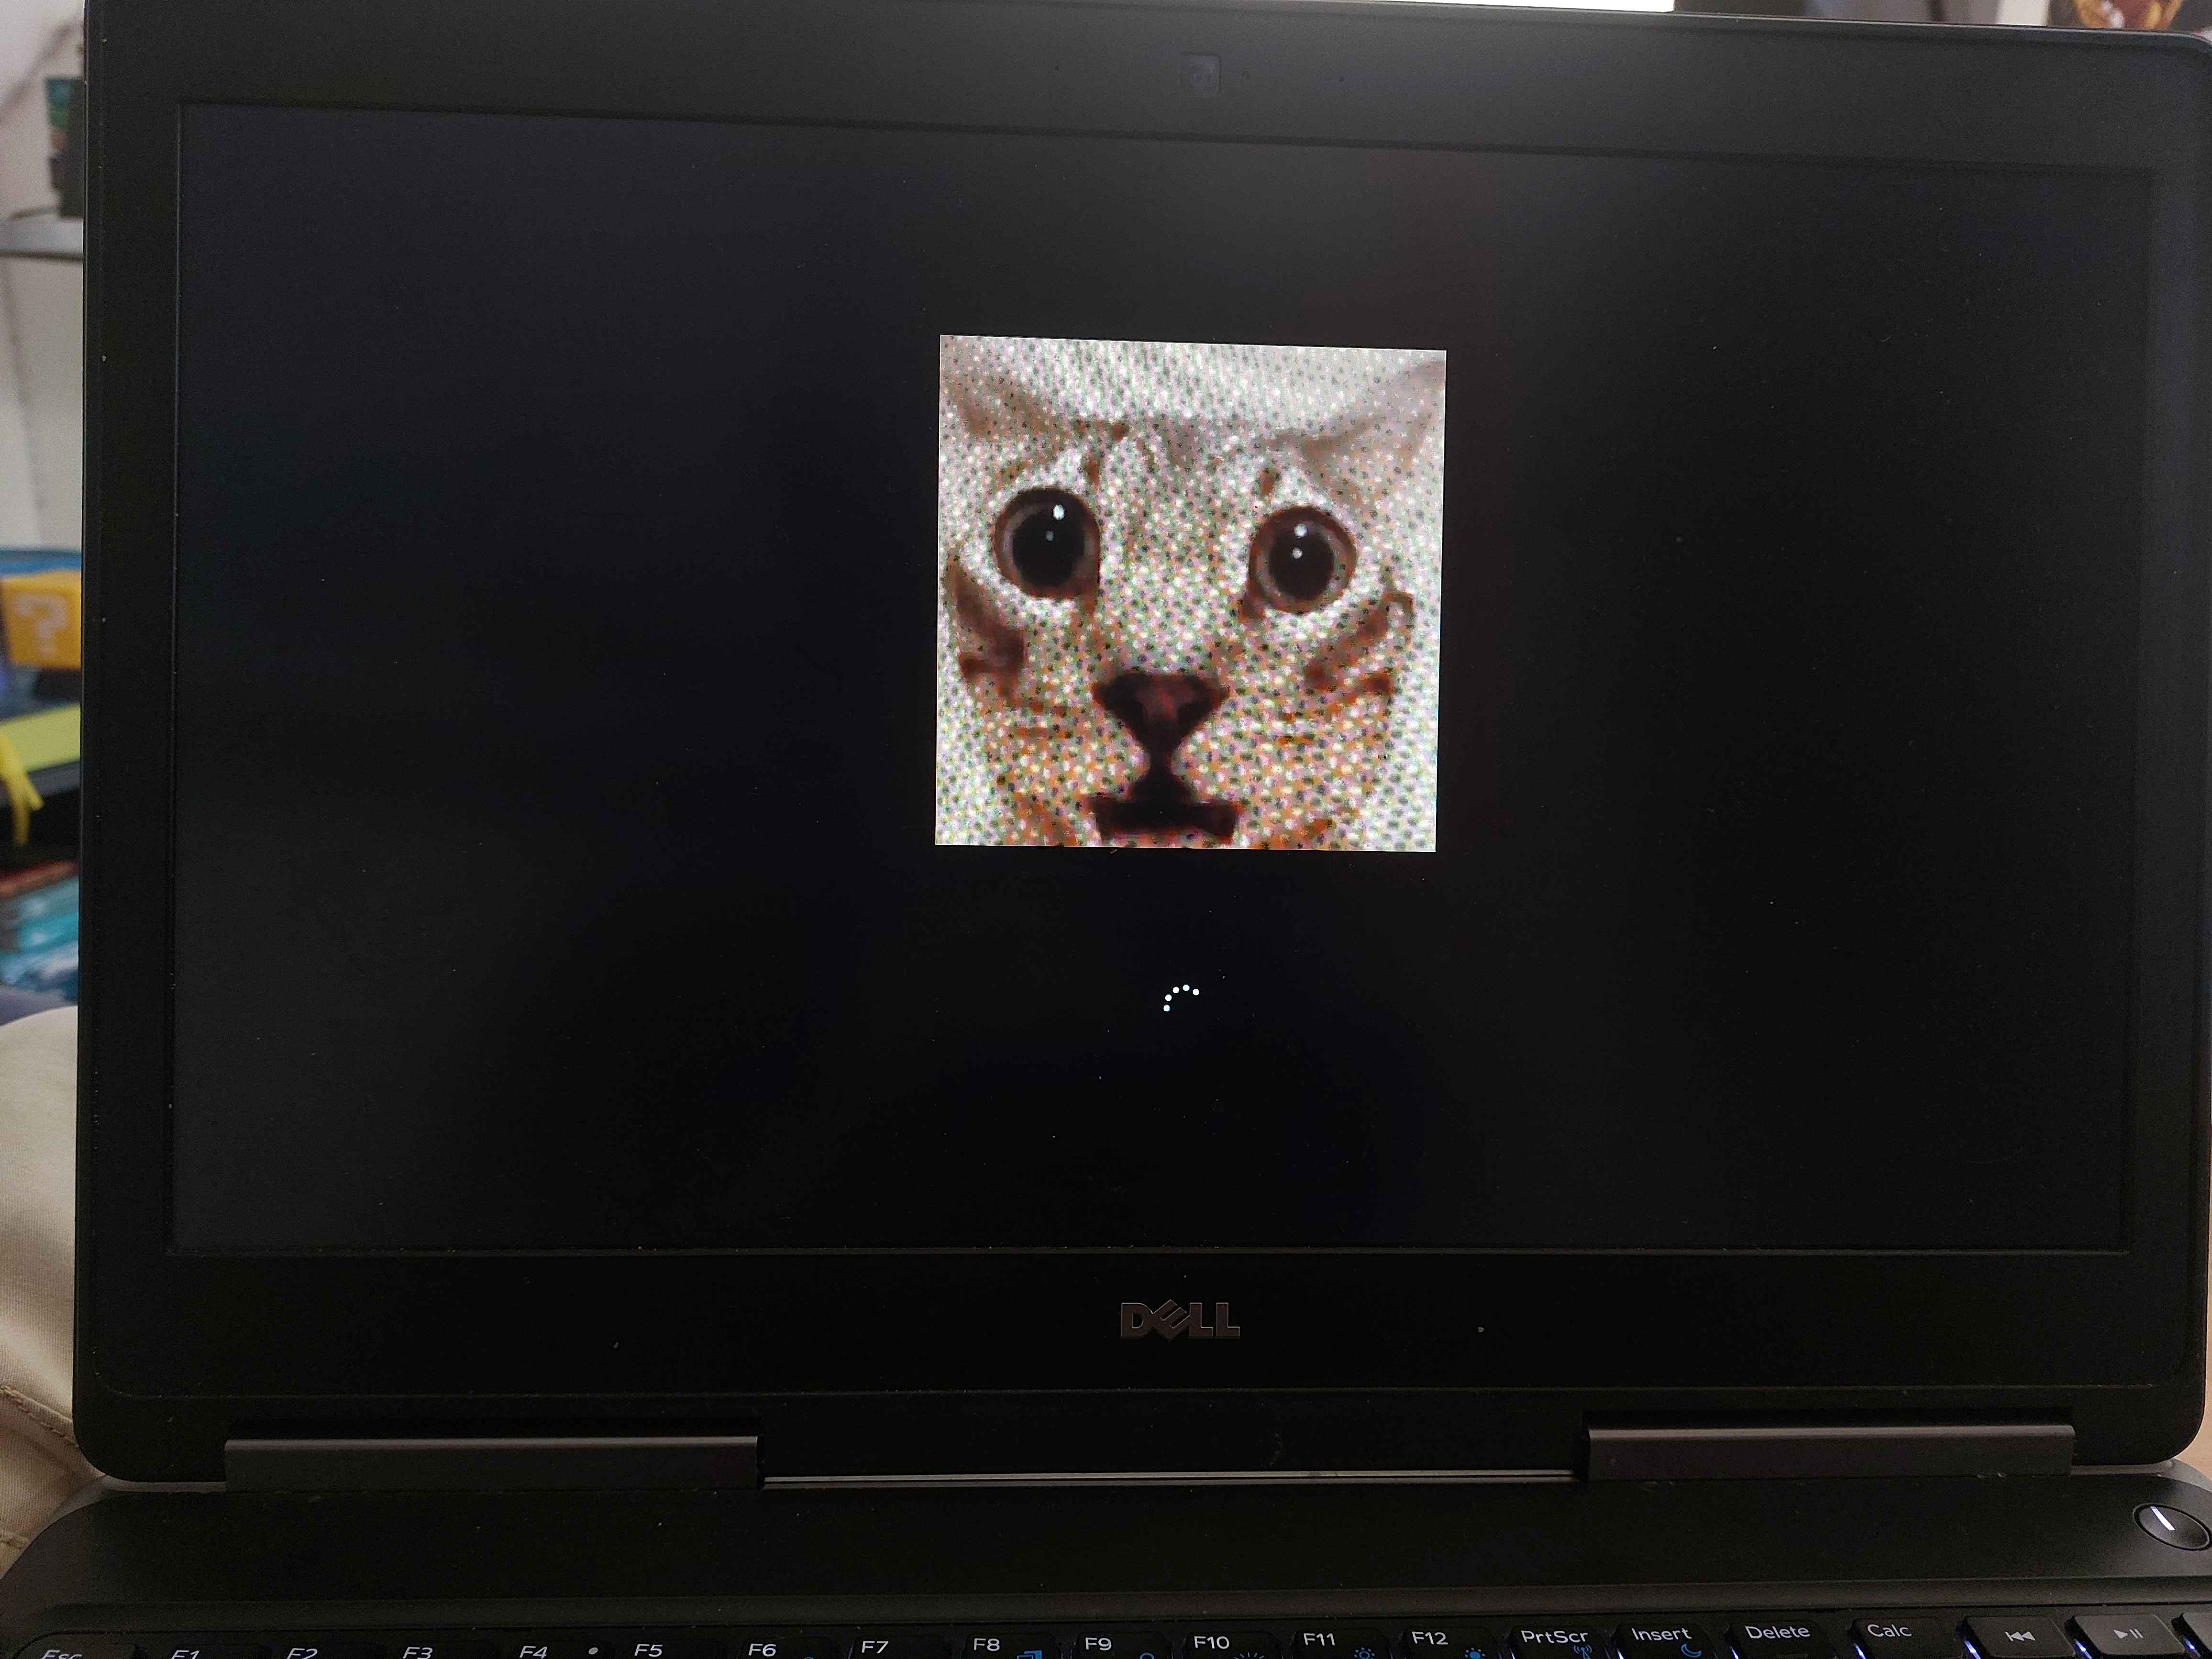
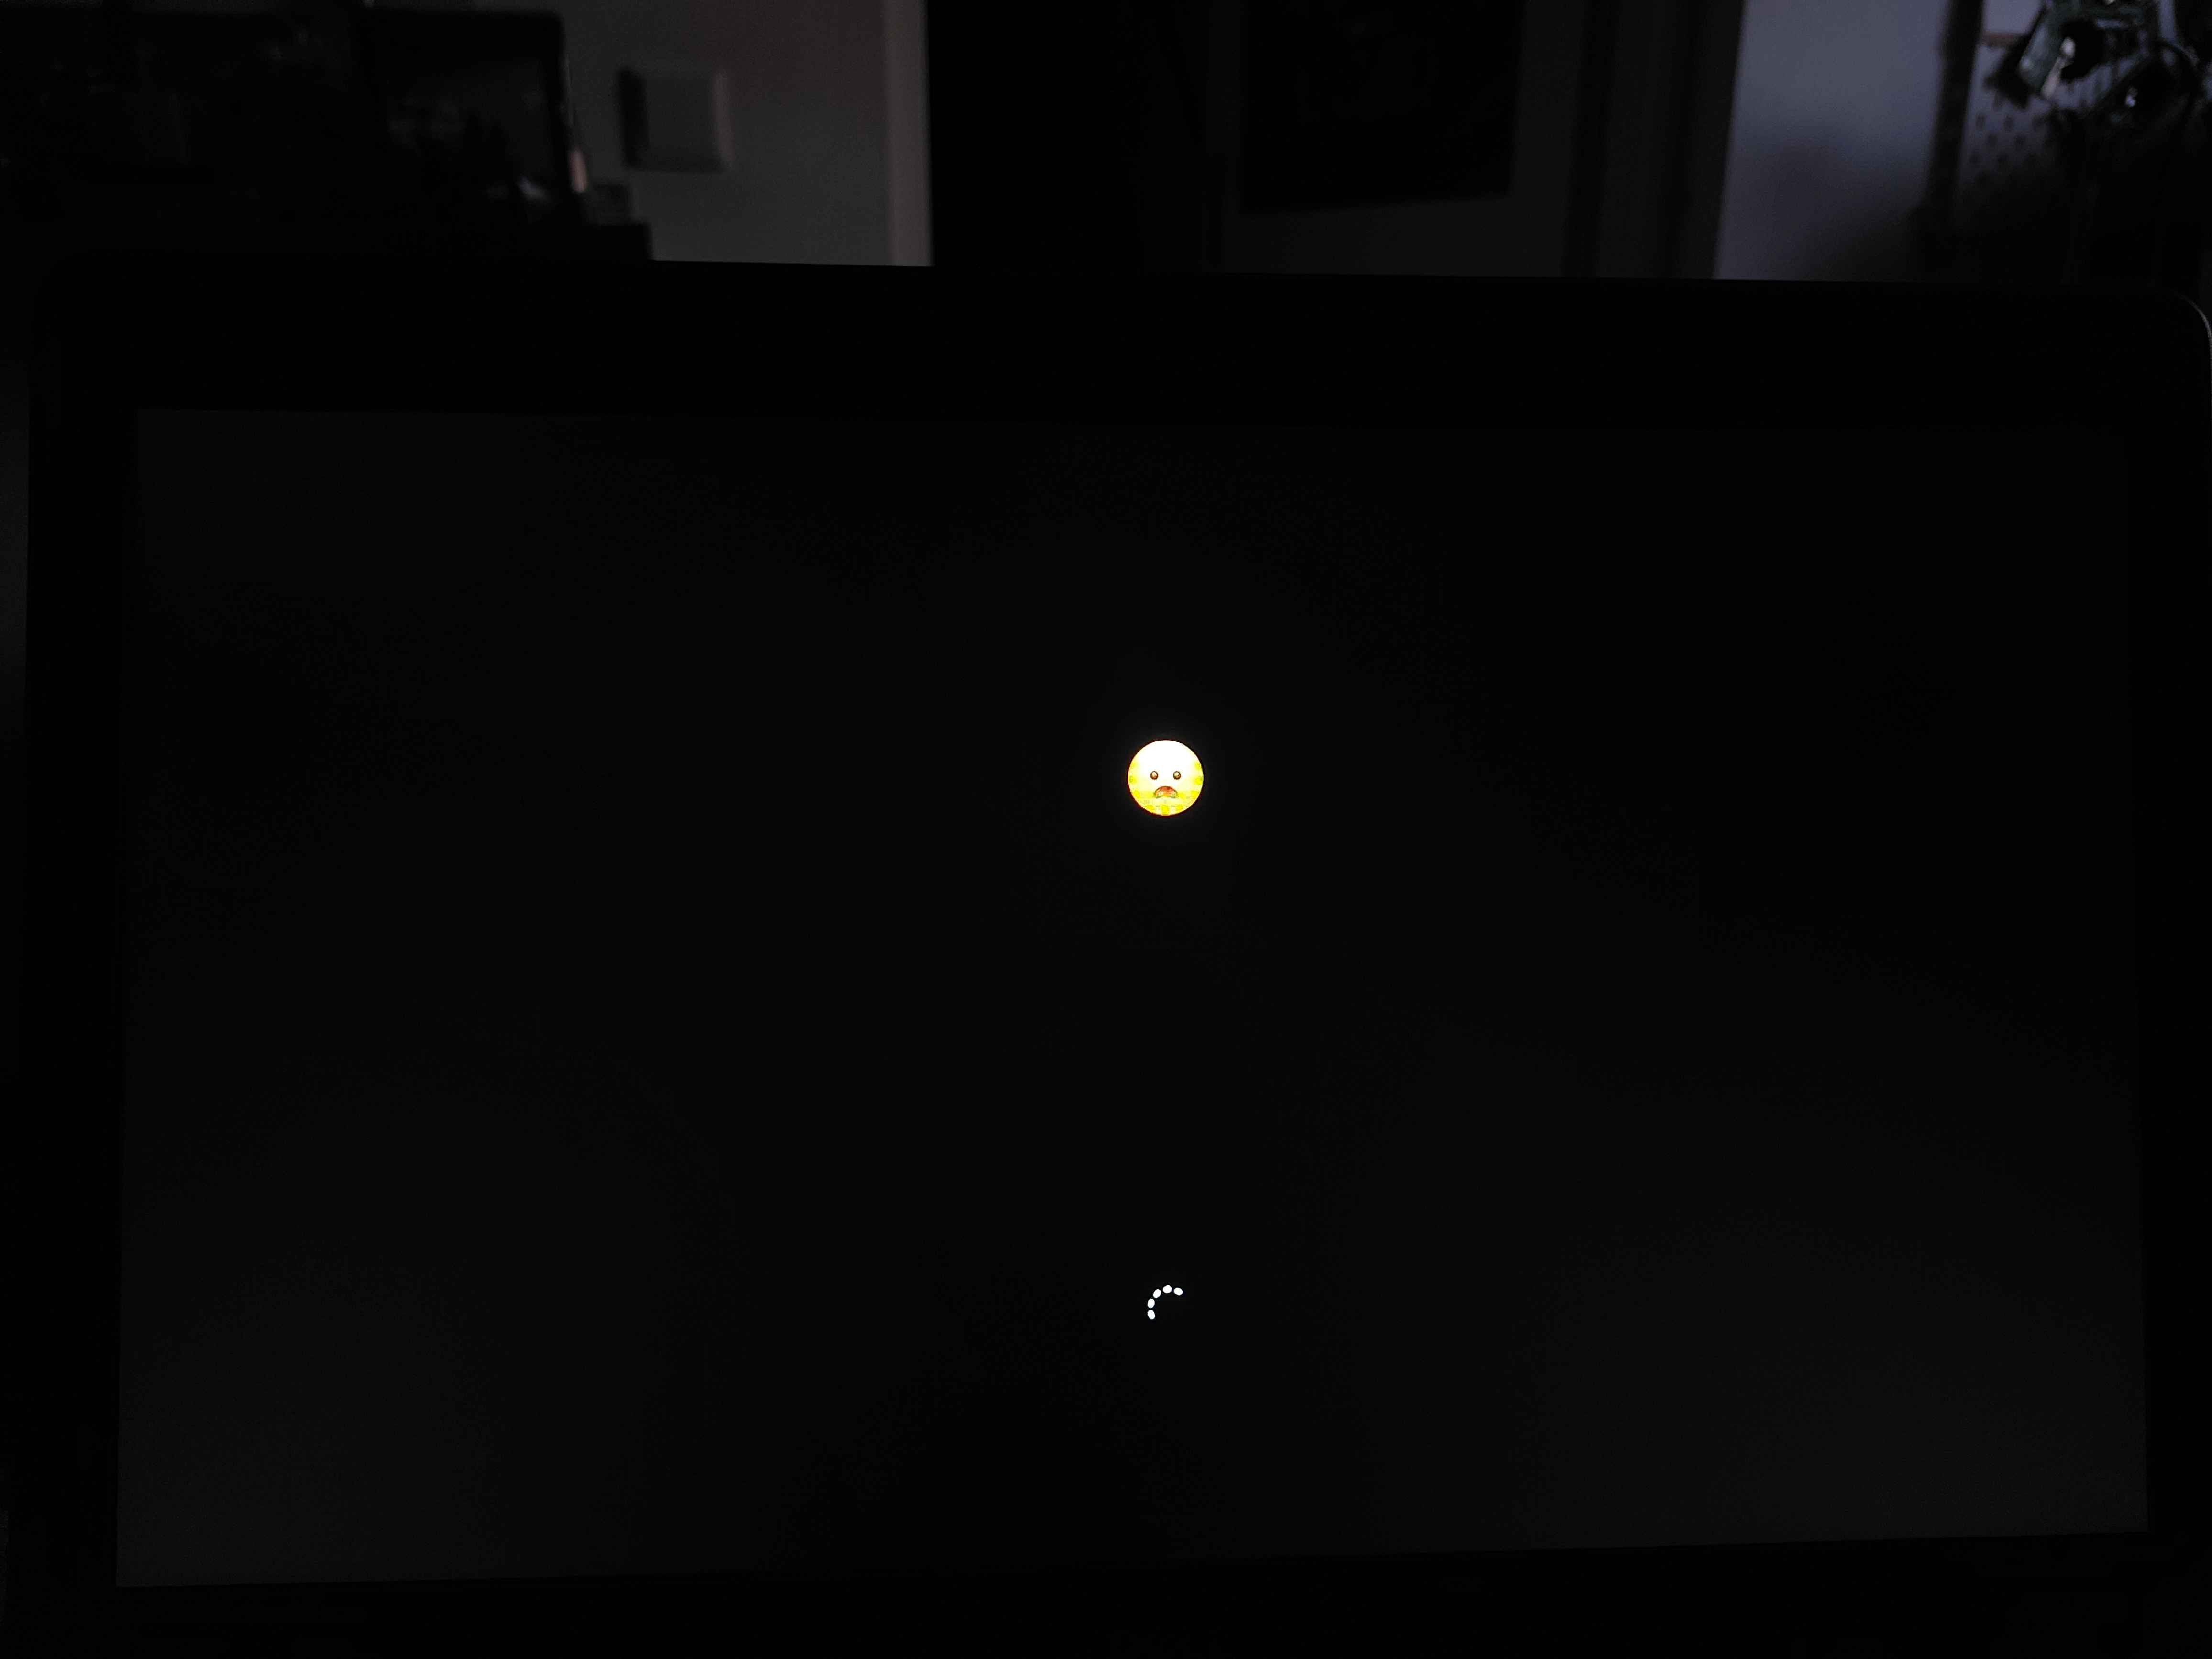
Some of my image (bonus)
Here’s some images i used myself as a silly startup (still adding more as we speak)
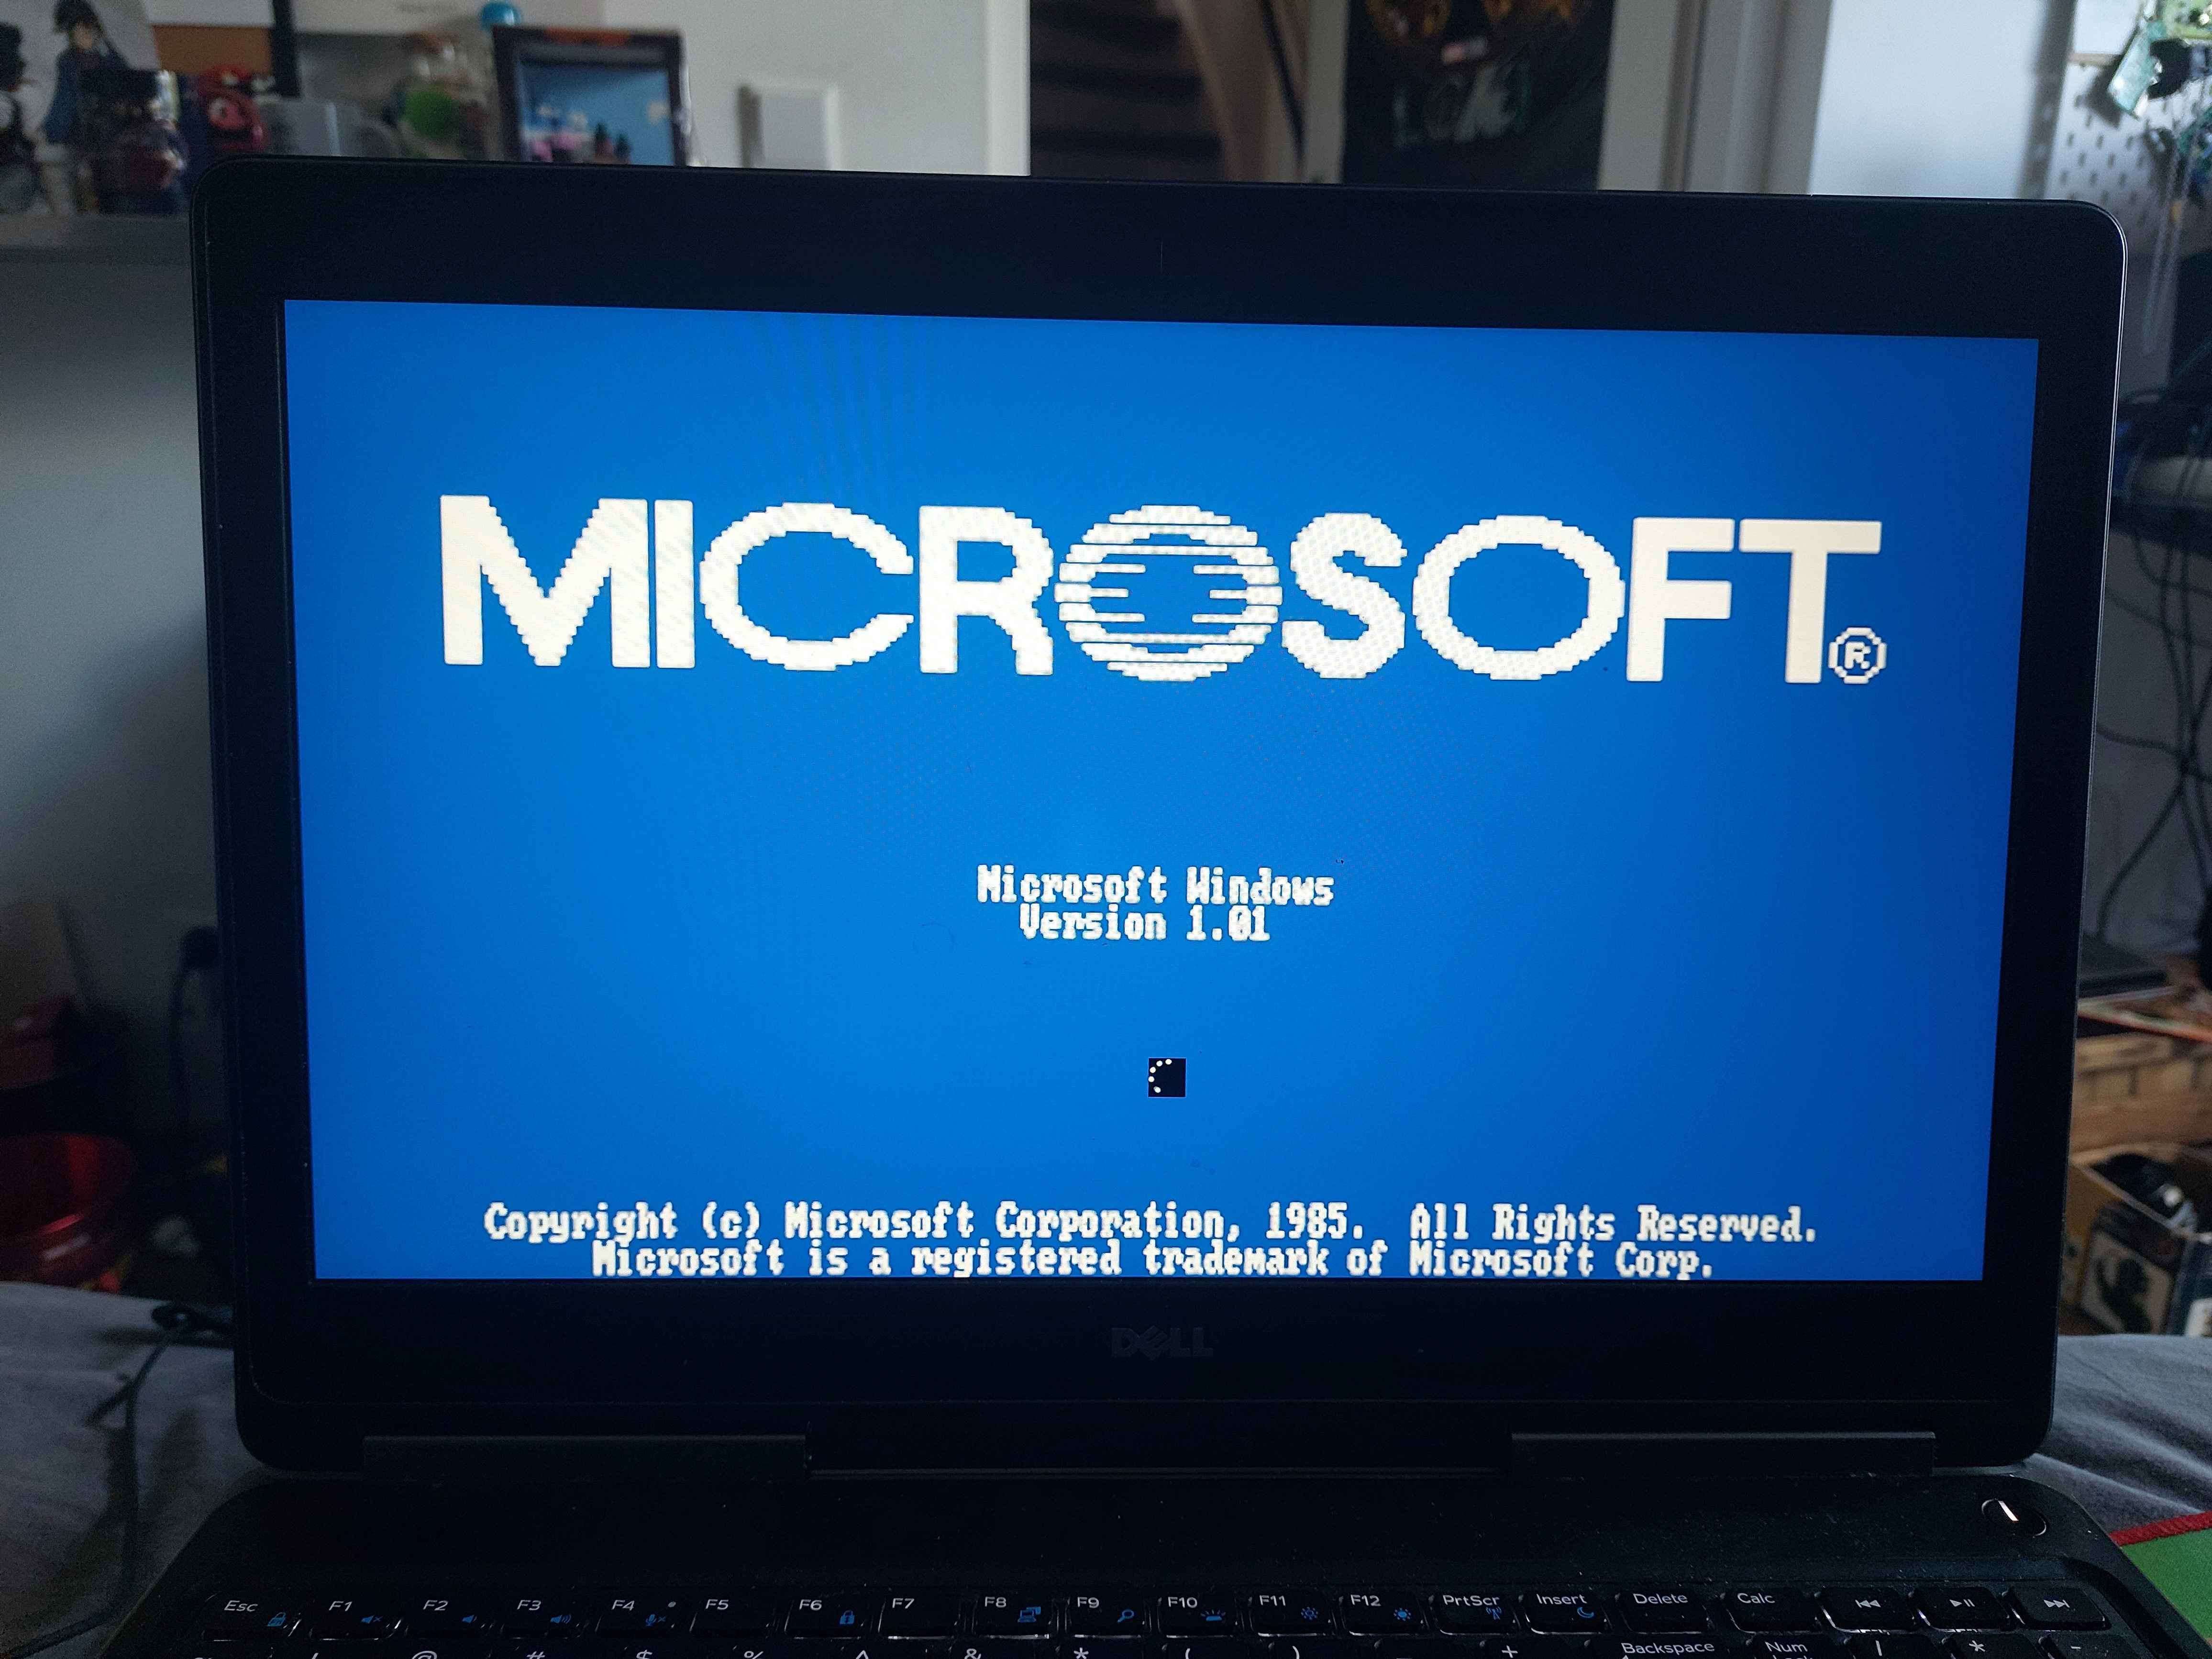 (funfact: the loading icon is a certain character from a font)